How to Use Custom Properties and Drivers in Blender
 Mika
Mika- Updated Mar 27, 2025
Blender's custom properties and drivers are great tools to make your work easier.
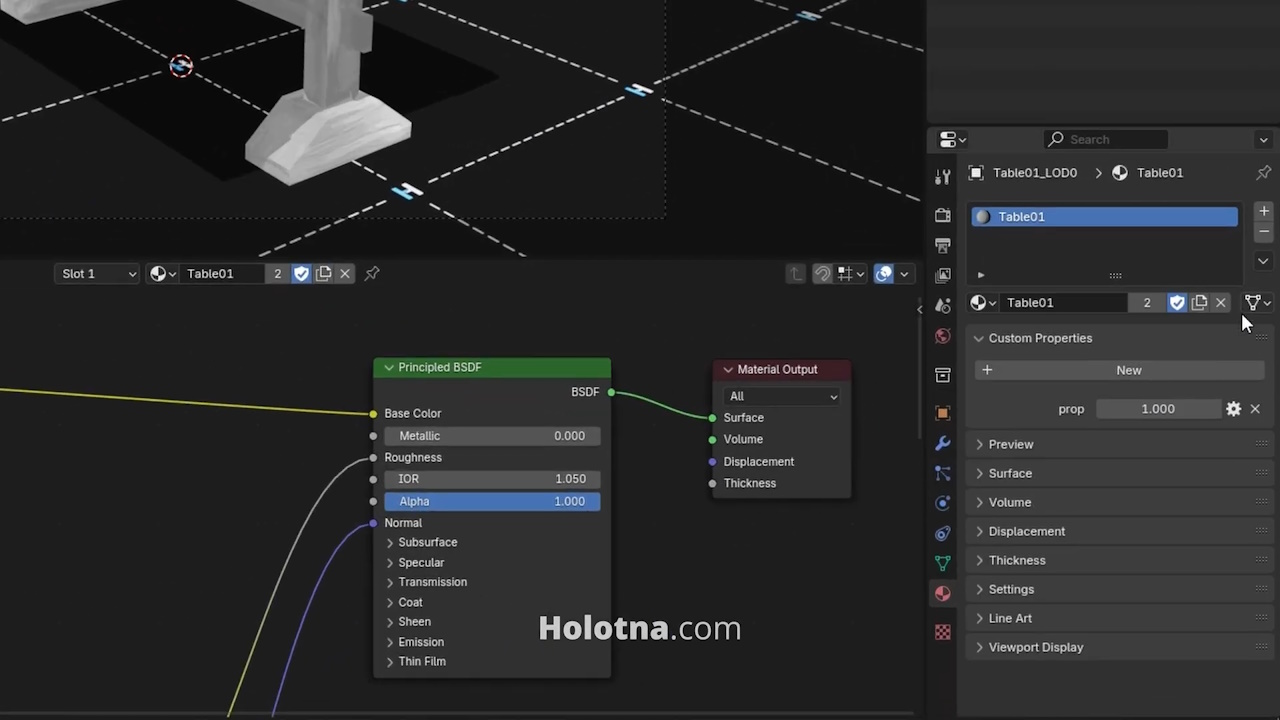
Adding the Custom Property
Start by adding a new custom property by expanding the section and clicking the New button.
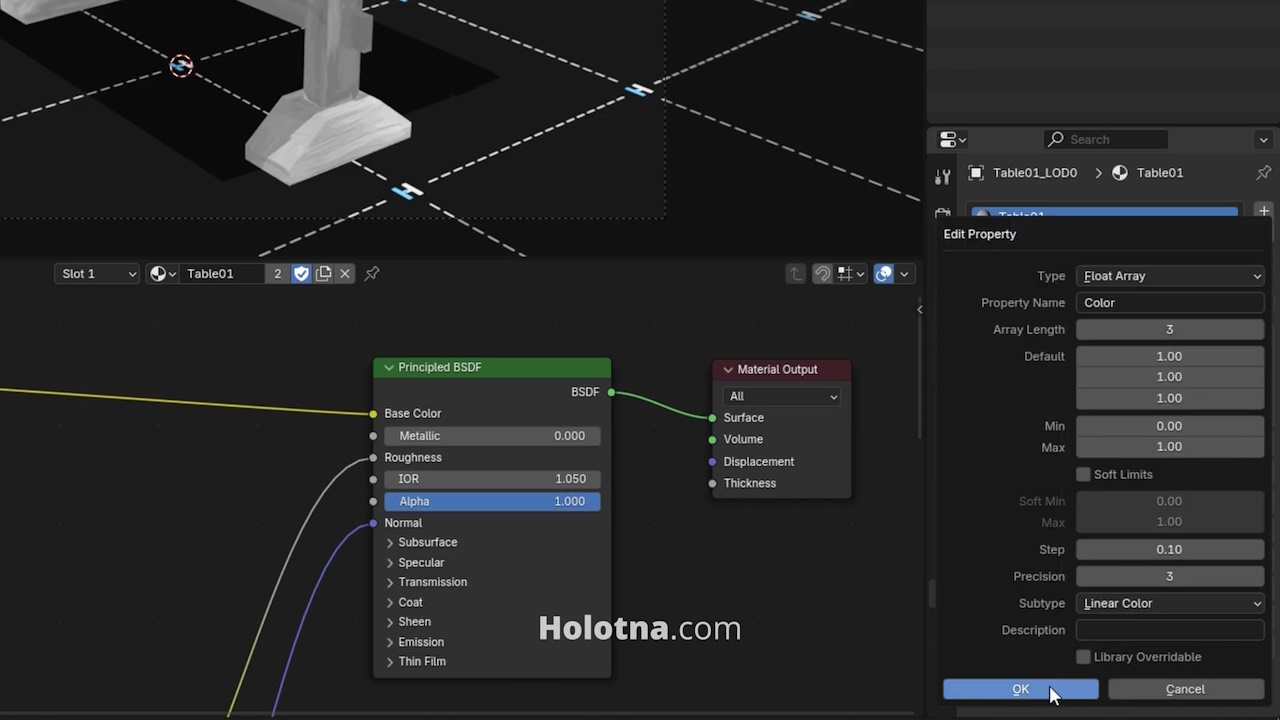
Click the gear icon to modify the property. Rename it “Color”. To make this a color property, change its Type to Float Array and Subtype to Linear Color. Click OK.
Adding the Driver
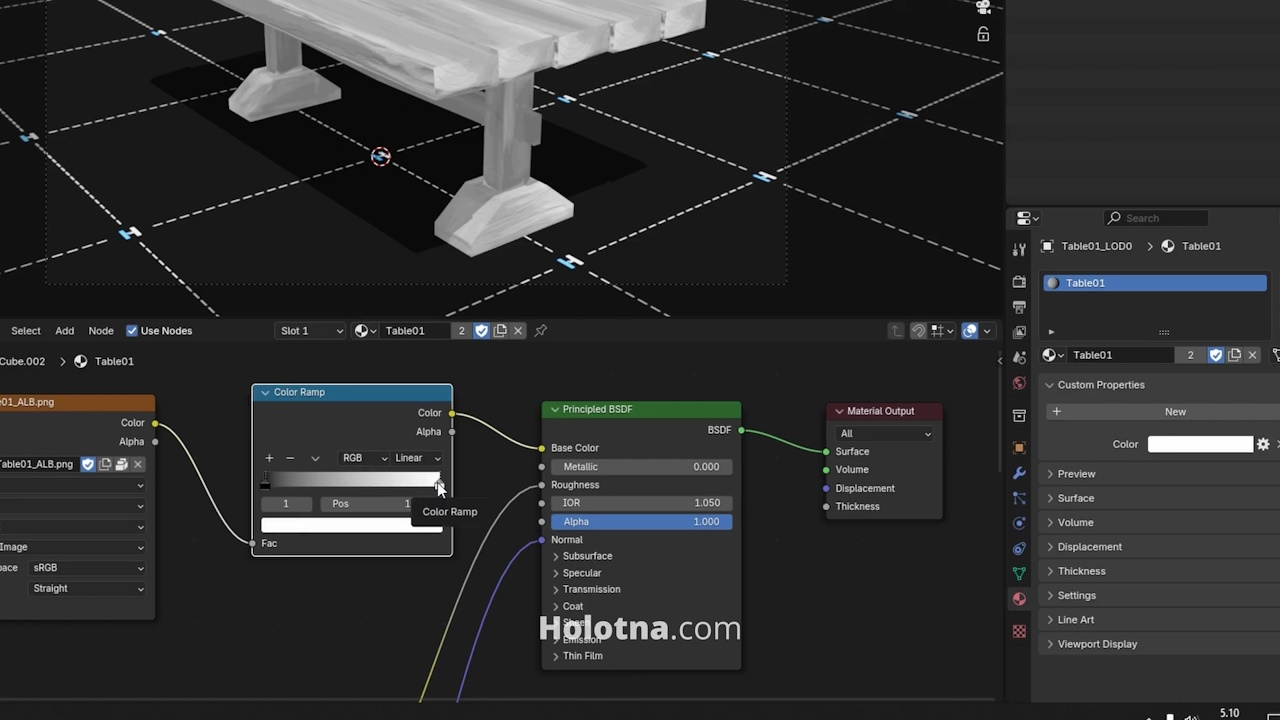
Next, add a Color Ramp node between your Image Texture node and the Principled node. Make sure to select the stop on the right which is white by default.
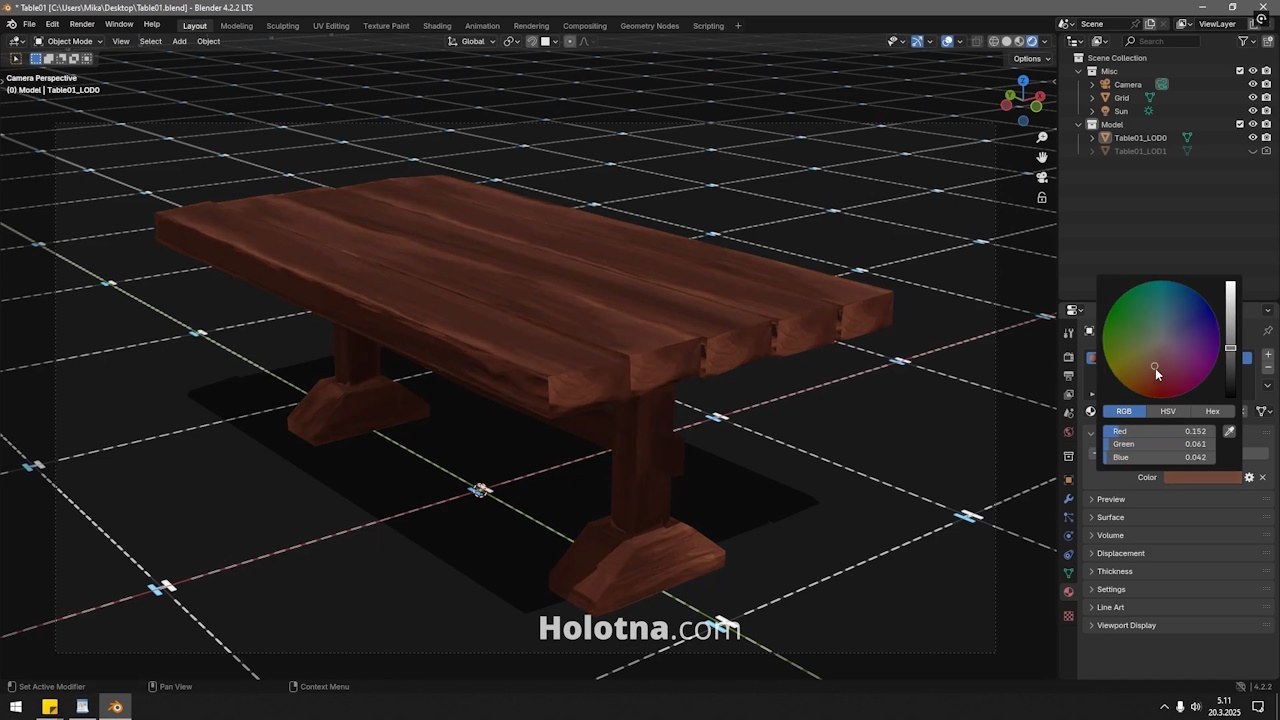
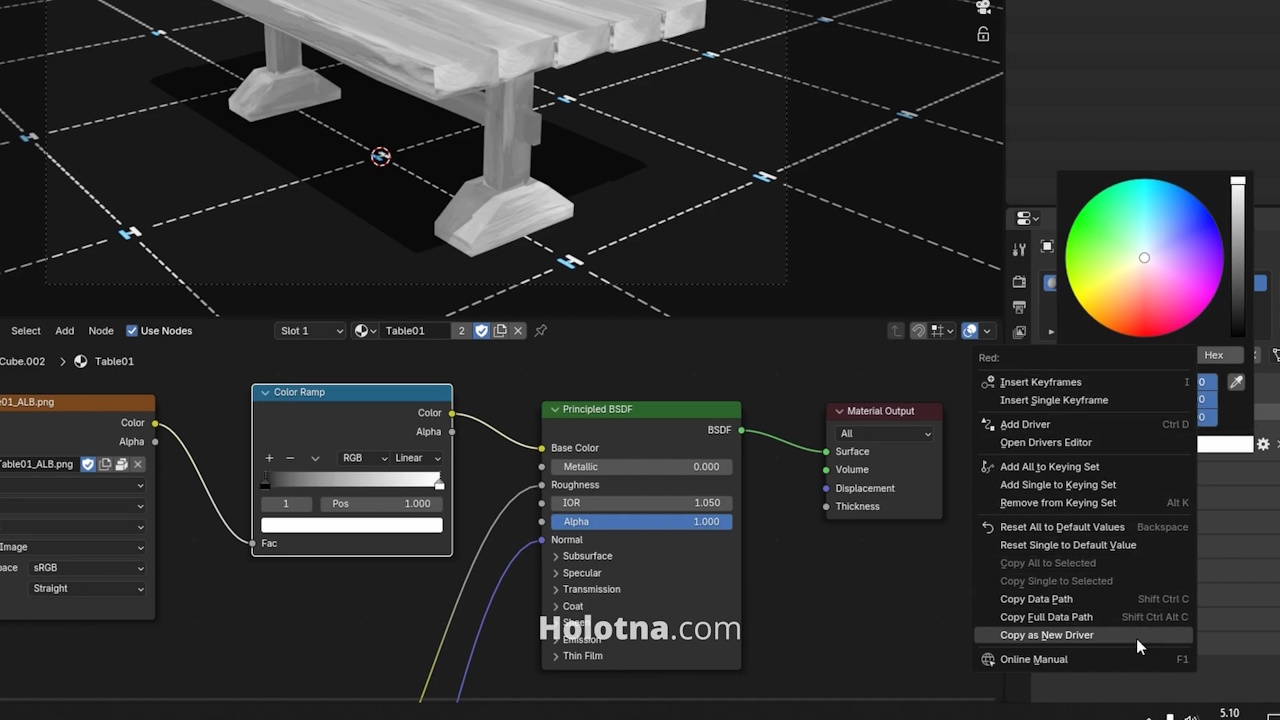
Now click the color section of the Color property. Switch to the RGB mode, right click the Red field and choose Copy as New Driver.
Next, click the color section of the Color Ramp node, right click the Red field and choose Paste Driver. The Red field should now be purple because it contains a driver.
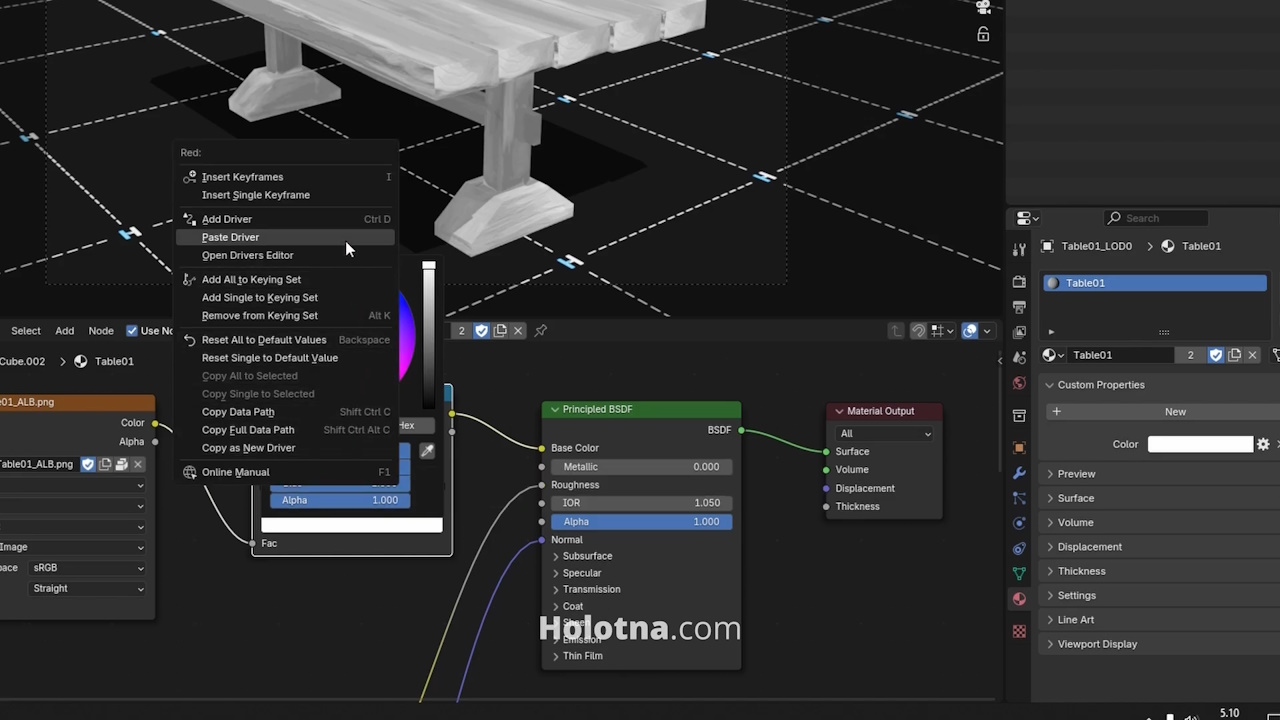
Do the same thing for the Green and Blue colors. Right click the field of the property, choose Copy as New Driver, then right click the field of the Color Ramp and choose Paste Driver.

Now you can determine the color of your model as long as your texture is black and white.