How to Make an Object Glow in Blender
 Mika
Mika- Updated Jul 3, 2025
Using the Glare node in the Compositing workspace allows you to add glow to your emissive objects after you render an image. This increases the realism of your renders a lot, so you should definitely learn it right away as it is a very simple trick to learn.
Making an Object Glow
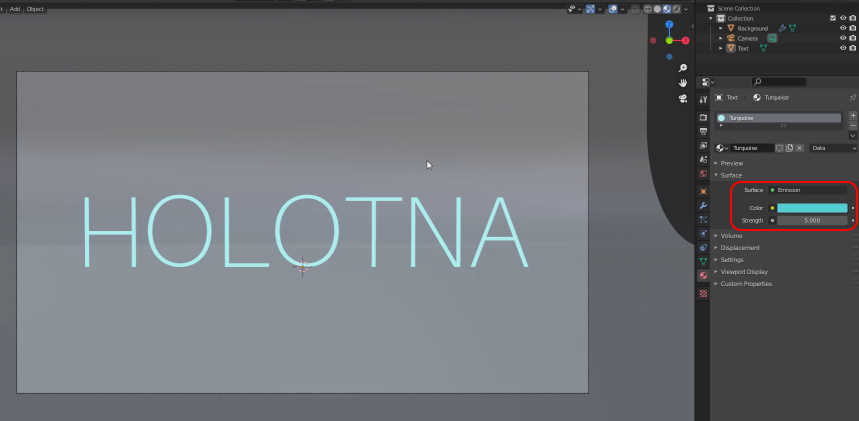
The text in the 3D space has a material with the Emission shader. The strength of it is 5.
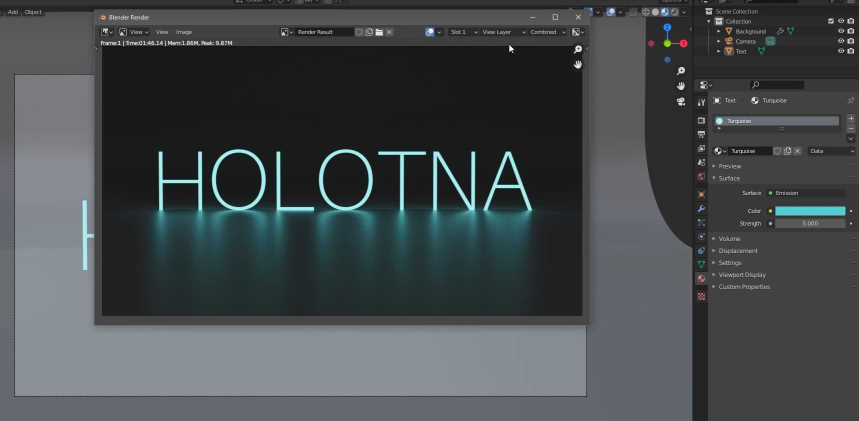
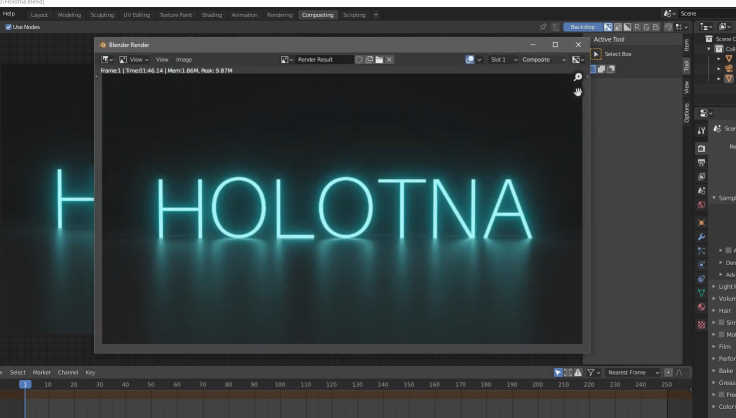
When I render the view, the text looks like this.
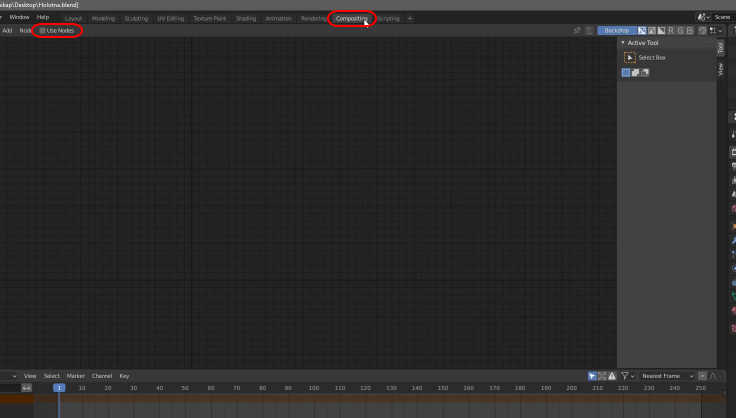
To make the emissive object glow, open the Compositing workspace. Tick the Use Nodes setting in the upper left corner of the Compositor window.
First, let’s add the Viewer node to the system so you are able to see the final image in this window as well. Press SHIFT + A, search for Viewer and select it.
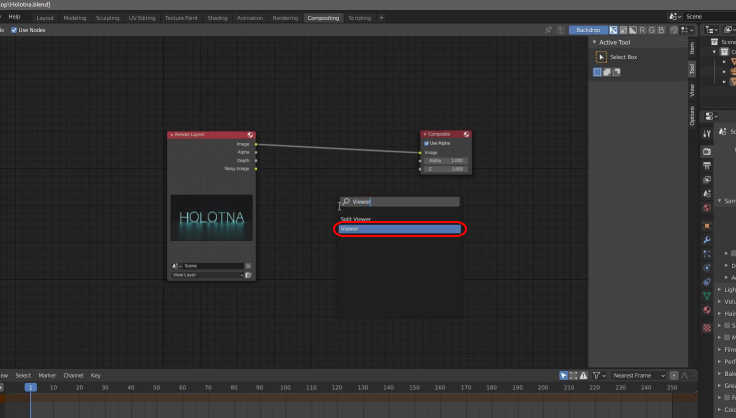
Connect the Render Layers node to the Viewer node. To make the text glow, add the Glare node to the node system. Press SHIFT + A, search for Glare and select it.
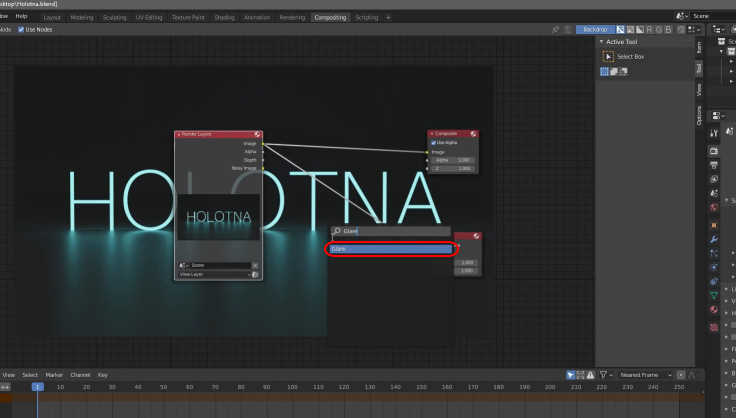
Detach the Render Layers node from both the Composite and Viewer nodes. Now connect the Render Layers node to the Glare node and the Glare node to the two nodes.
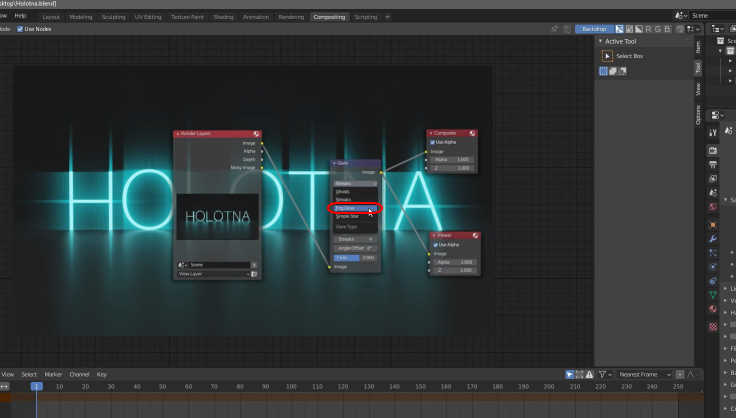
Open the first drop-down menu from the Glare node and select the Fog Glow option.
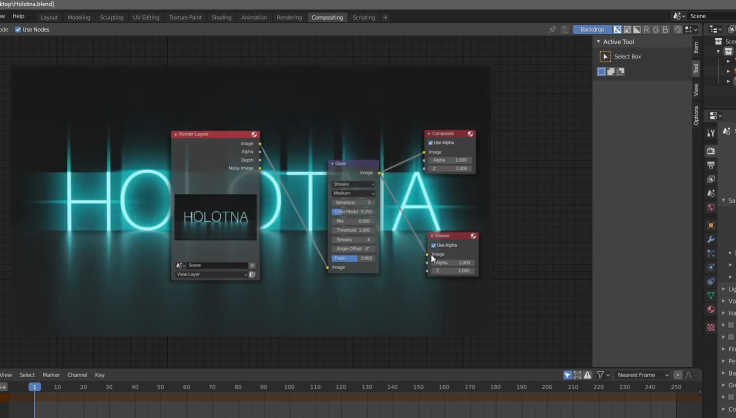
There you have it.
Tweak the values of the Glare node and the strength of the emissive material if needed.