How to Make an Object Follow a Curve in Blender
 Mika
Mika- Updated Mar 28, 2025
The array modifier used with a curve object is a very powerful trick to repeat an object. Using this method you can easily make objects like train tracks, pipes, rollercoasters, or whatever you can think of. With this quick tutorial, you will learn everything you need to get started.
Making an Object Follow a Curve
Array Modifier
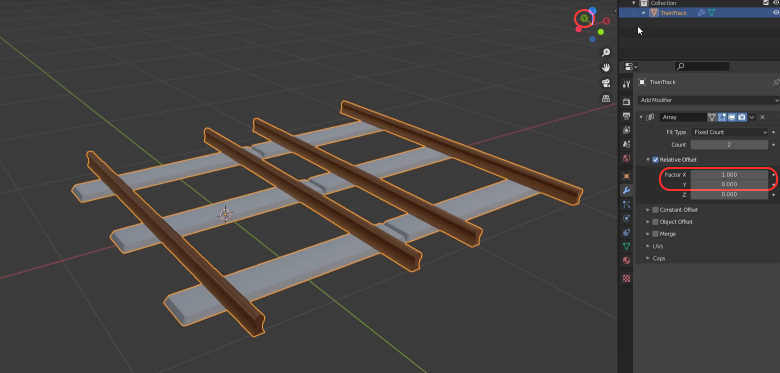
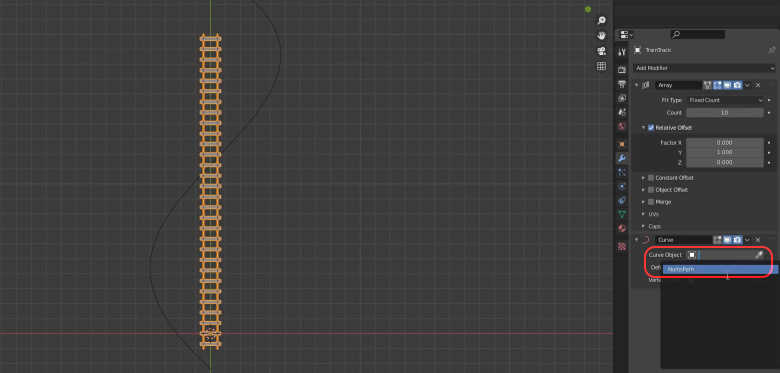
Let’s say you are creating a train track and you currently have one piece of it ready. To create copies of the original piece, open the Modifier Properties tab and add the Array modifier to the object.

In this case, the object is facing the positive direction of the Y-axis so modify the Relative Offset setting’s X value to 0 and Y value to 1.
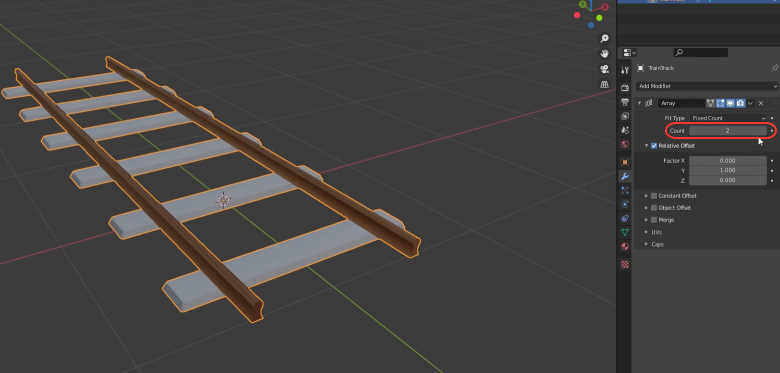
Increase the Count value to create copies of the piece.
Curve Modifier
Press SHIFT + A and add a Path curve.

Rotate it 90 degrees on the Z-axis. Go to the top view with NUMPAD7. Move the curve to the middle of the train track and scale it to be around the same length.
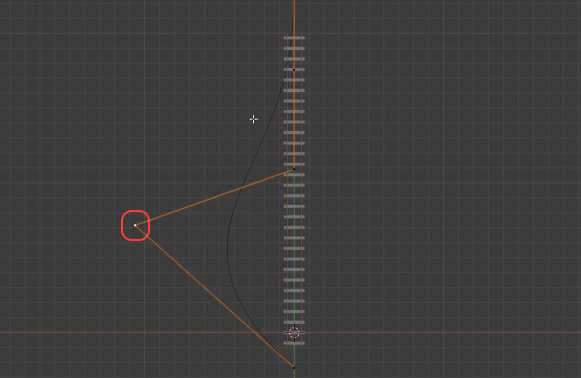
Now go to Edit mode and move the vertices of the curve to bend it.
Go back to Object mode and select the train track. Add the Curve modifier to it.
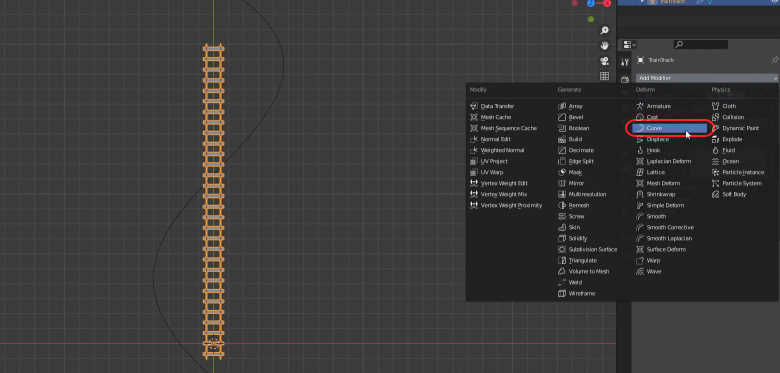
Set its Curve Object setting’s value to be the curve object.
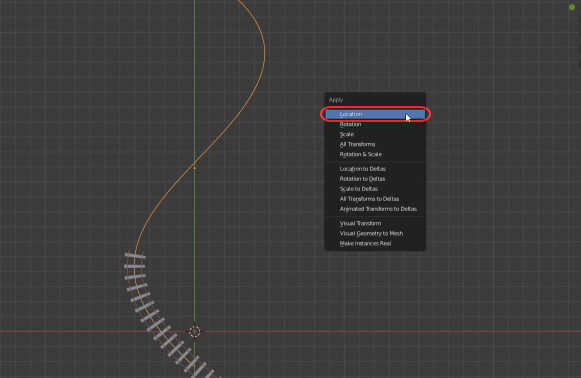
Select the curve again and reset its location with CTRL + A, Location so that the track starts at the same point as the curve.
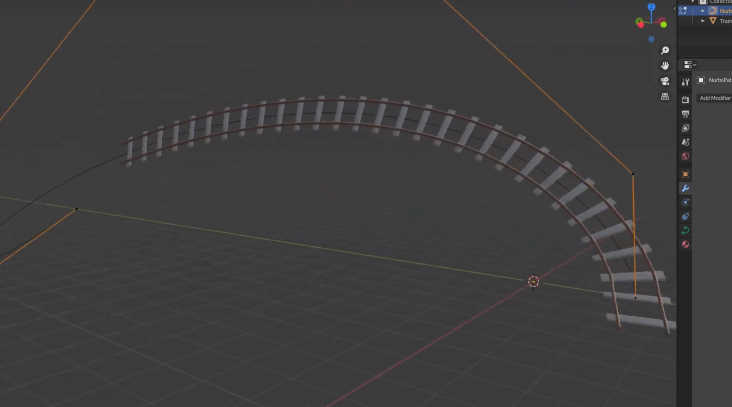
Now you can modify the curve and the track will follow it.
If you want to apply the modifiers, apply the Array modifier first then the Curve modifier. You can also remove the curve object if you wish.