How to Bake a Random Texture into a UV Map in Blender
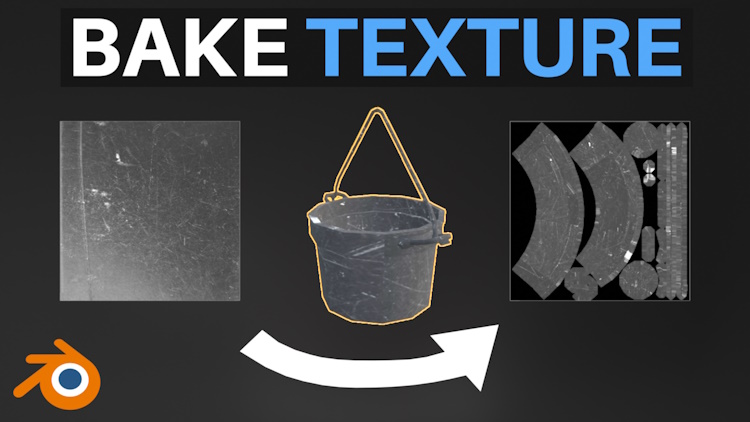
In this article you'll learn how to bake a random texture into your model's UV map.
Adding a Secondary UV Map
I will use this metal container that has already been UV mapped.
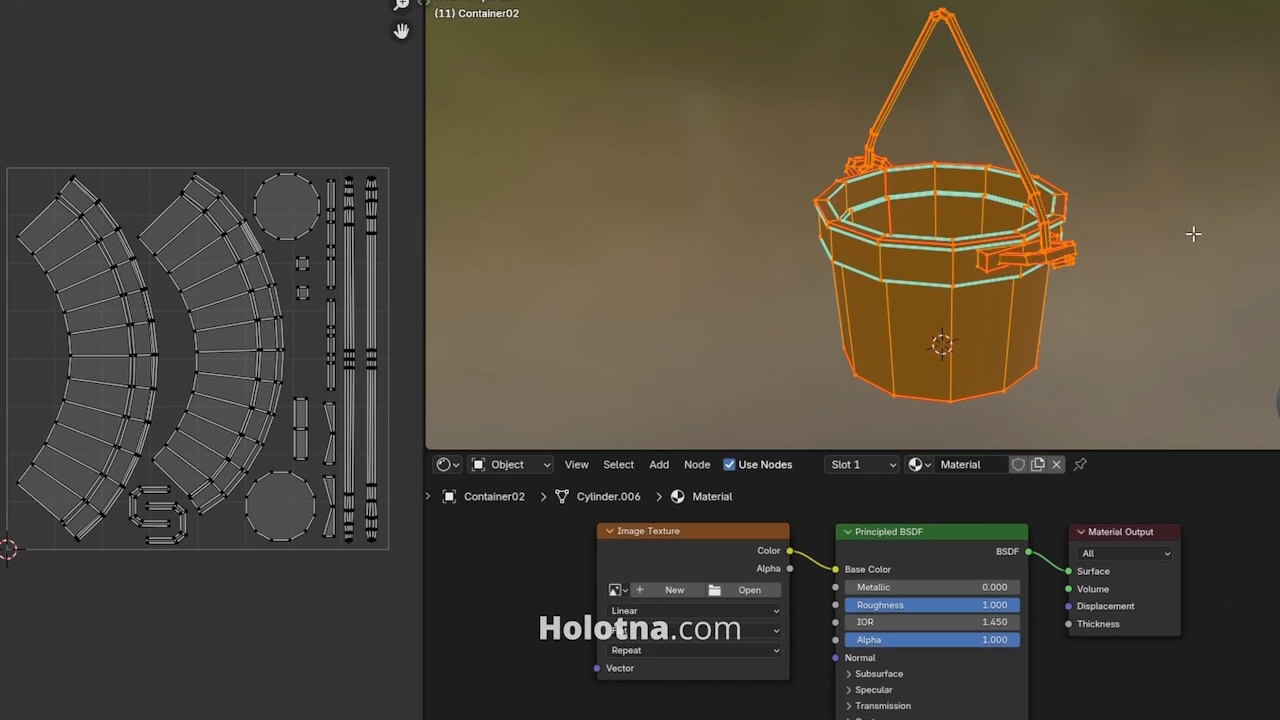
Click the Image Texture node’s Open button and select the texture you want to bake. At the moment the texture doesn’t look great on the container because the current UV mapping of it.
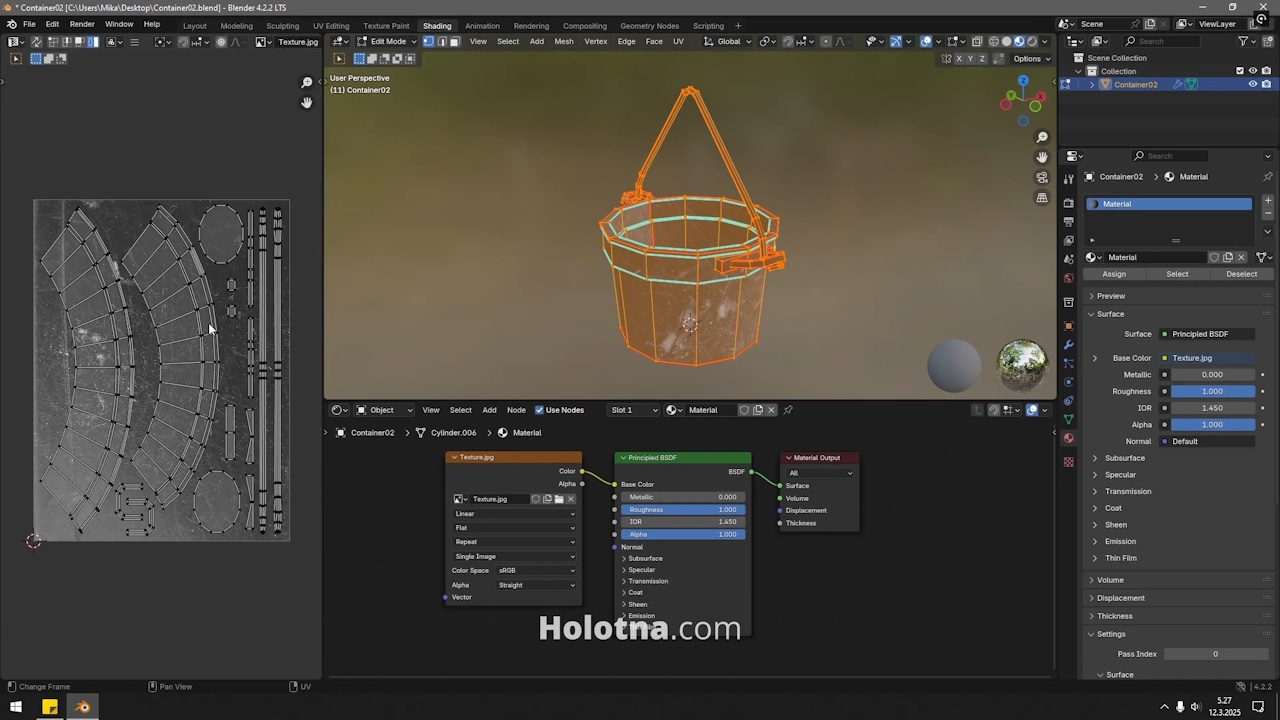
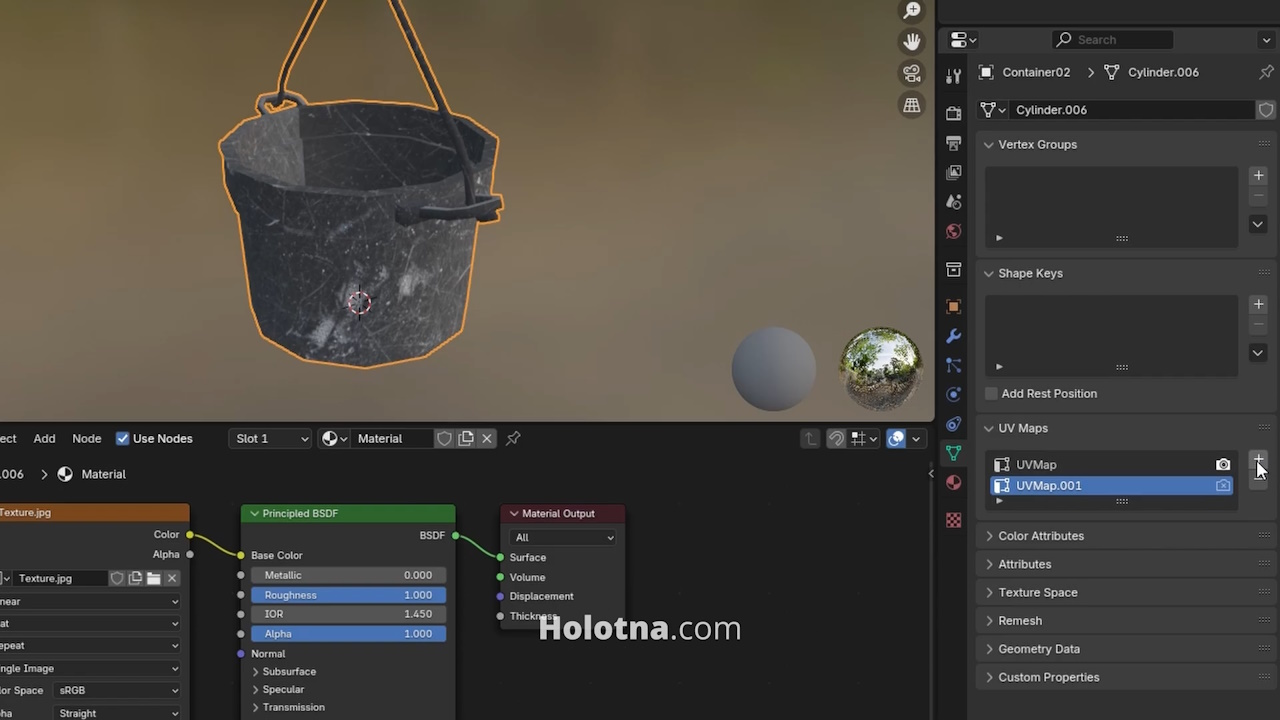
Open the Data tab, expand the UV Maps section and add a new UV map for the model. I will use the first UV map to unwrap the model to the metal texture and make it look as good as possible then I will bake that information to the second UV map that has my original UV mapping in it. At the moment both UV maps are identical.
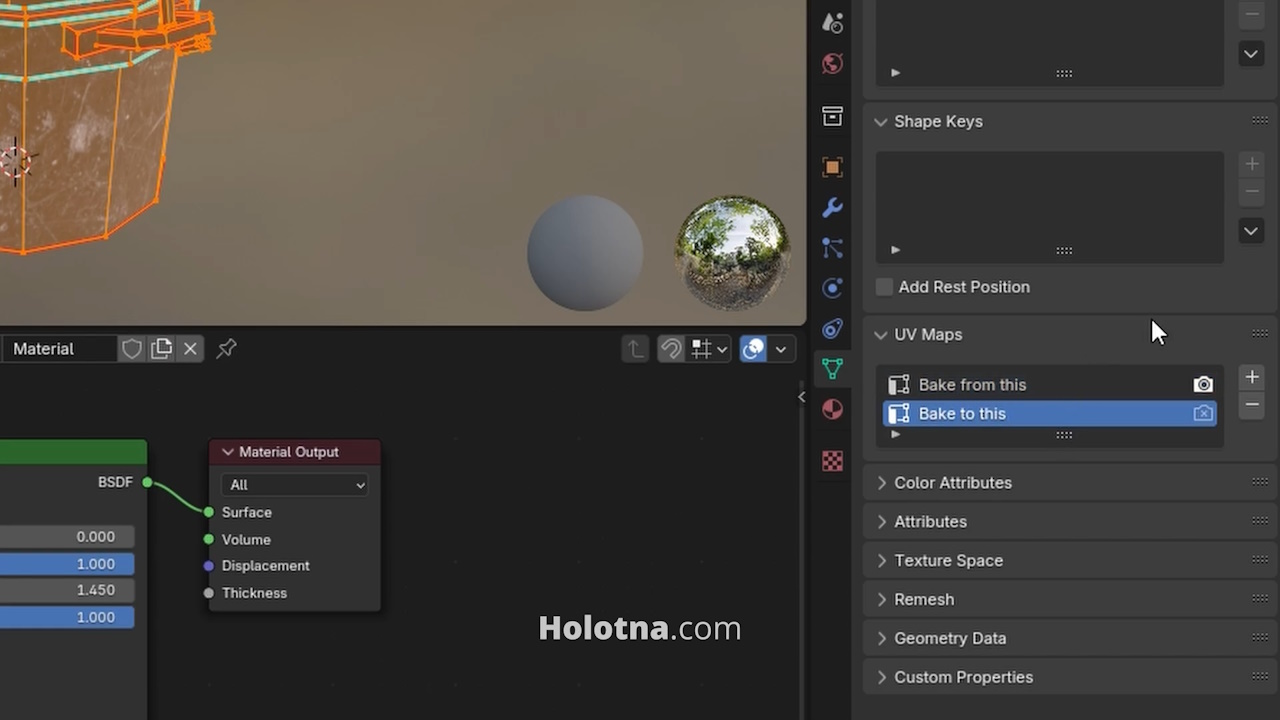
To make things less complicated, you can rename the UV maps to something like “Bake from this” and “Bake to this”.
Unwrapping the Model to the New UV Map
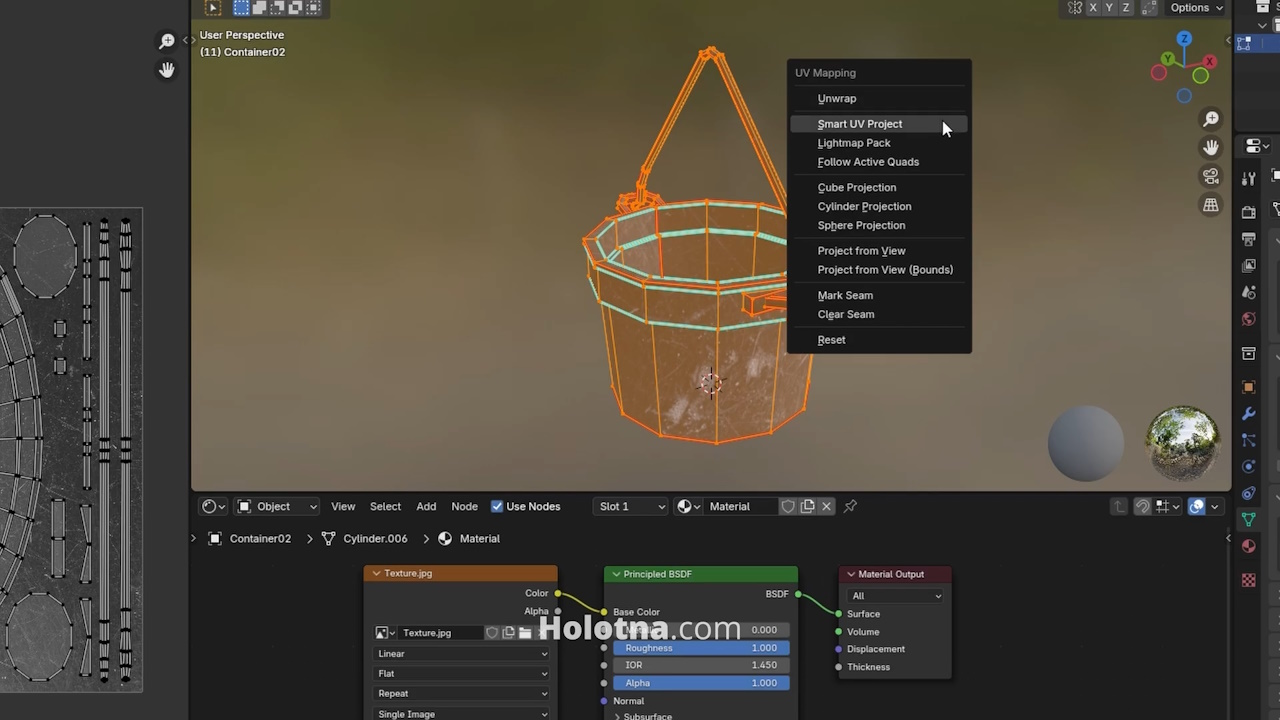
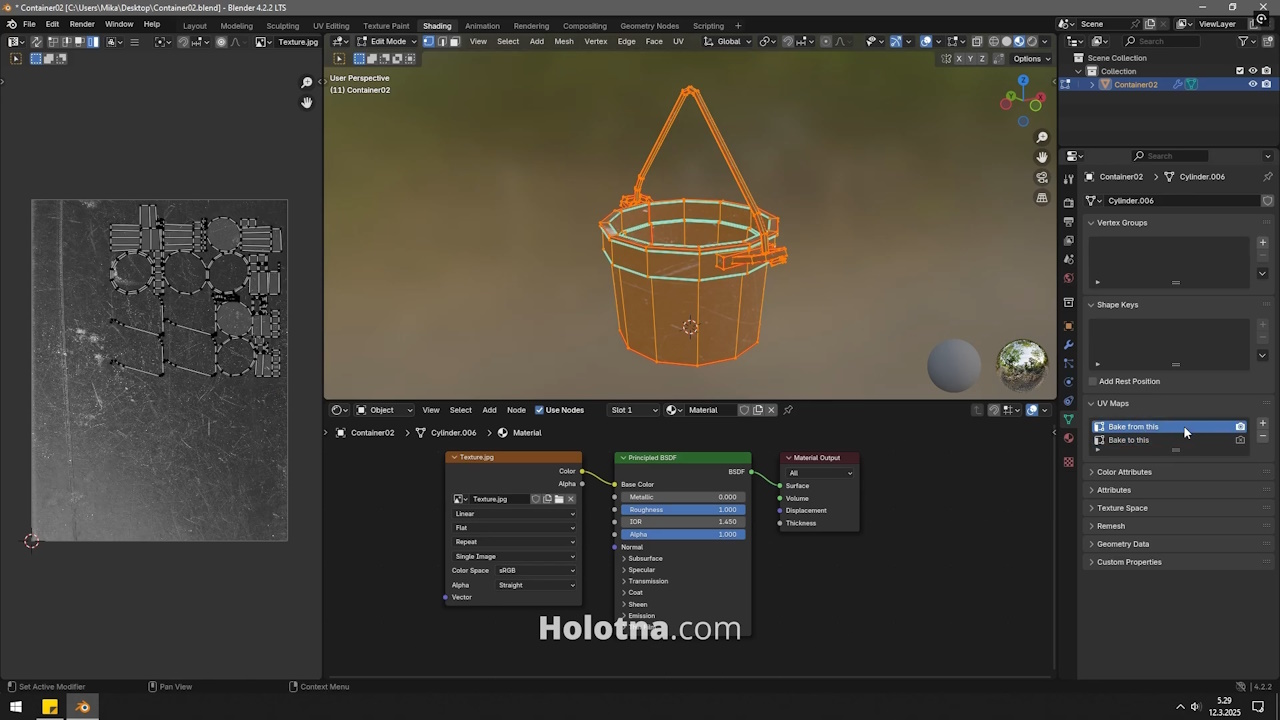
Make sure to have the “Bake from this” UV map selected. Unwrap the model again by pressing U, select Smart UV Project and click Unwrap.
Modify the UV map until you’re happy with how the texture looks on the model. Keep in mind that you will use this UV map only temporarily so it doesn’t have to look pretty, at this moment only the appearance of the model matters.
This is what the first UV map now looks like.
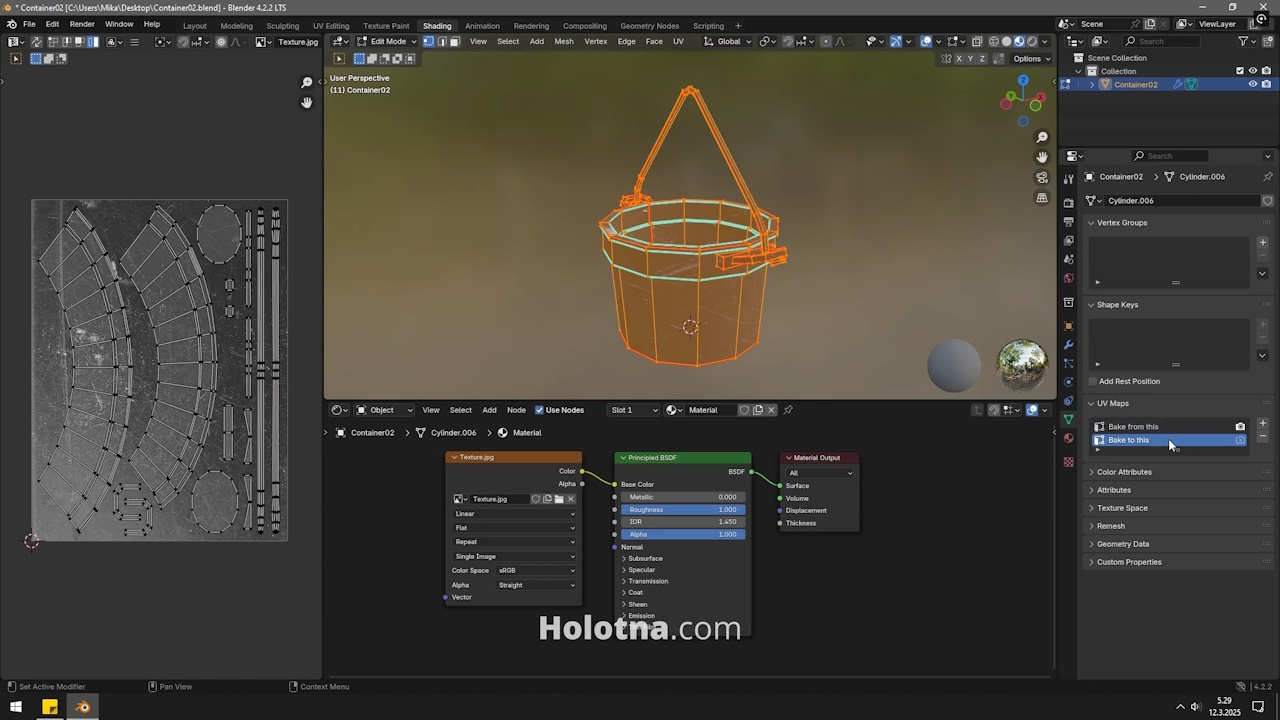
The second UV map has the original UV mapping in it.
Baking the Texture into the UV Map
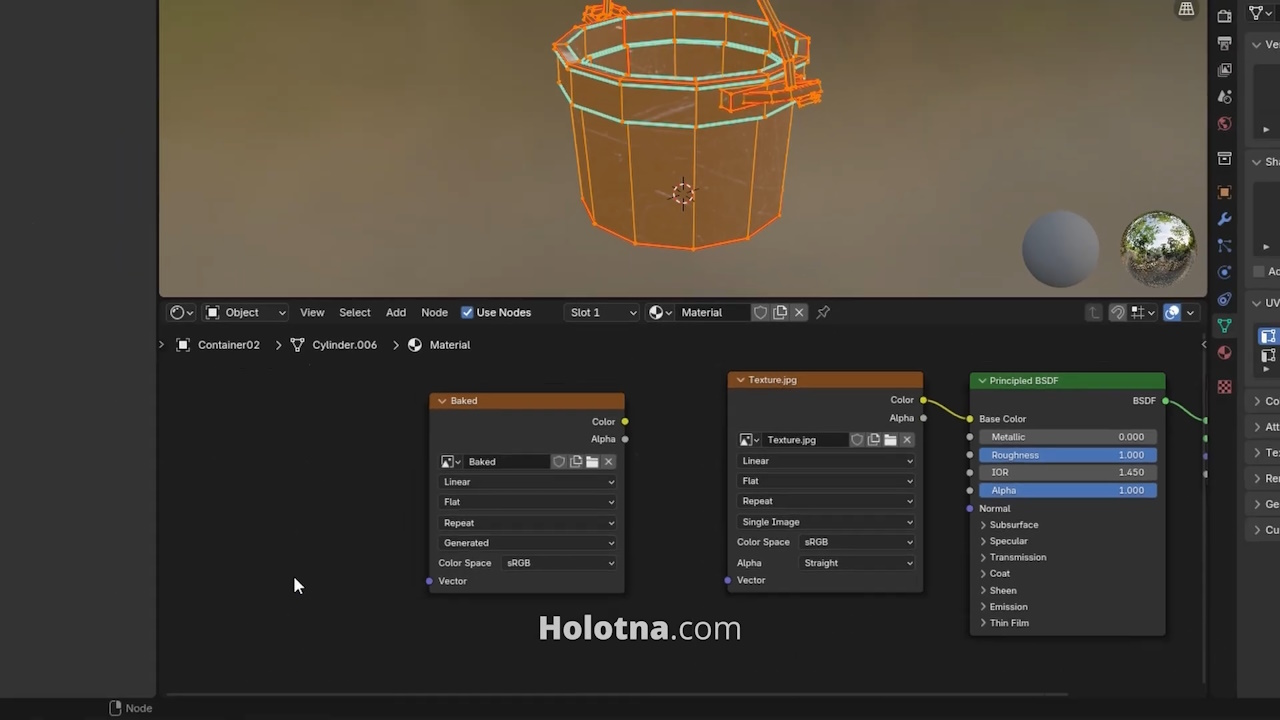
Now it’s time to bake the texture. Add a new Image Texture node with SHIFT + A. Create a new texture by clicking the New button, change the values to suit your needs and click the New Image button.
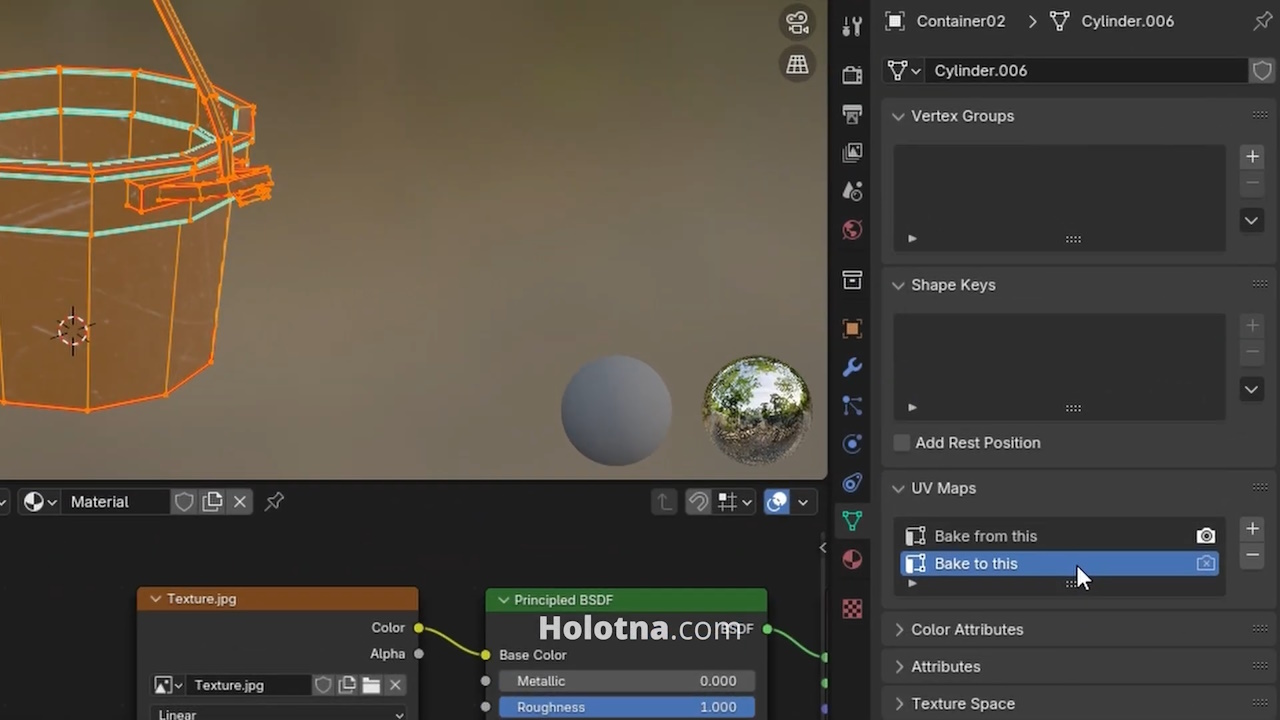
Next, select the “Bake to this” UV map. So make sure that the “Bake from this” UV map is active a.k.a. it has the camera icon enabled and the “Bake to this” UV map is selected a.k.a. it’s highlighted.
Open the Render tab and make sure you’re using the Cycles render engine. Switch the Device setting to GPU.
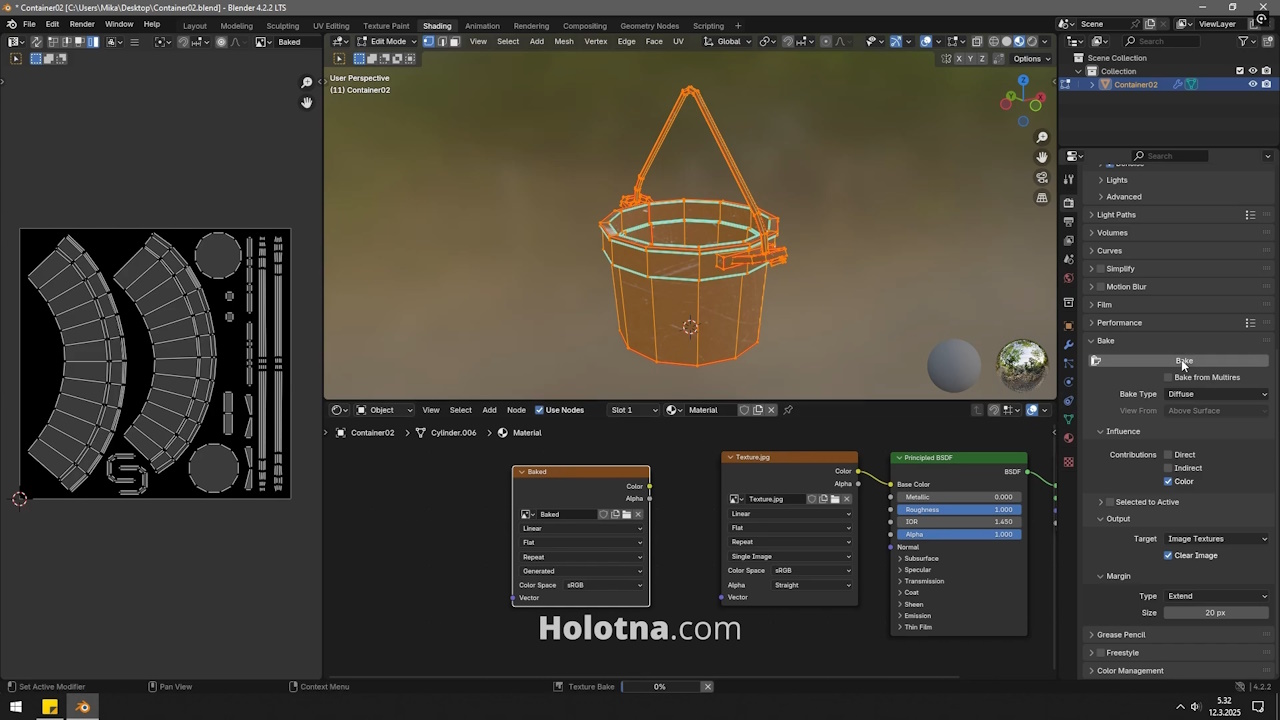
Expand the Bake section. If you’re baking an albedo texture, change the Bake Type setting to Diffuse. Disable the Direct and Indirect settings because you don’t want light to affect the baked texture. Set the Type setting to either Adjacent Faces or Extend, whichever gives you the best results. Also, depending on the size of your model and the texture, set an appropriate amount of bleeding by changing the Size value.
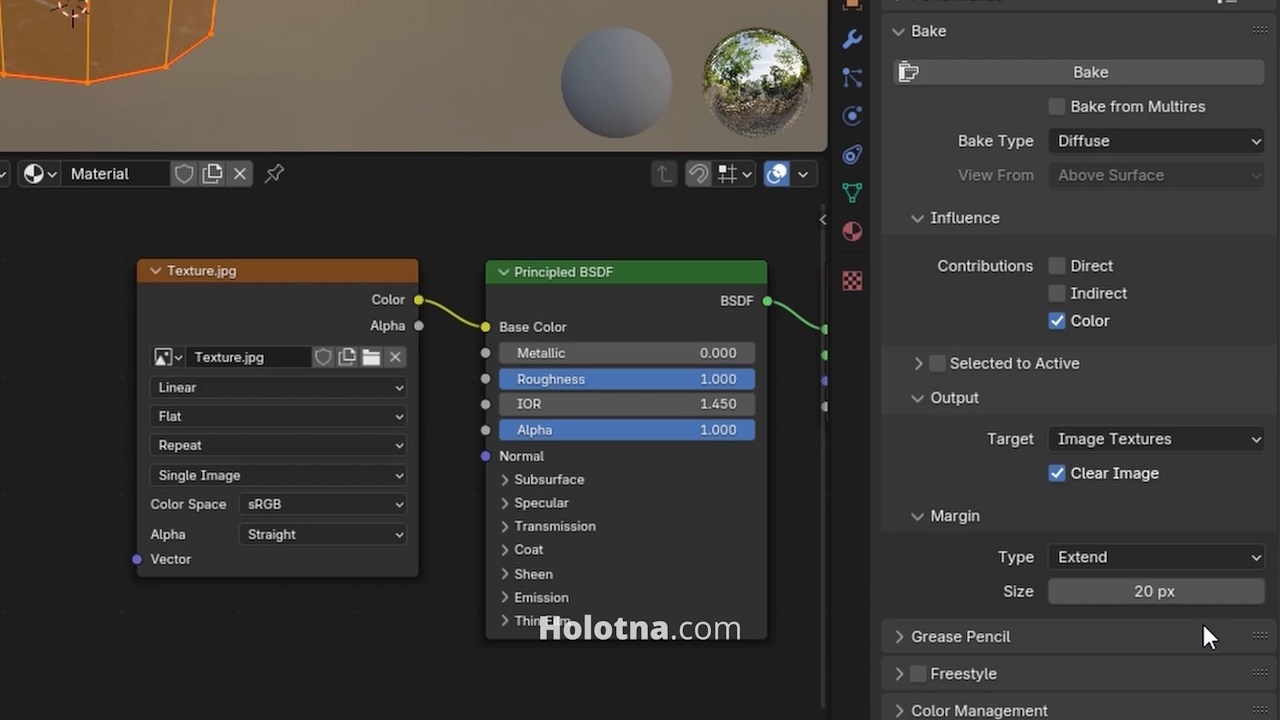
Make sure to only select the Image Texture node that has the new texture assigned to it and then click the Bake button.
