Fix Unity Grass Shading / Color in Blender
 Mika
Mika- Updated Jul 3, 2025
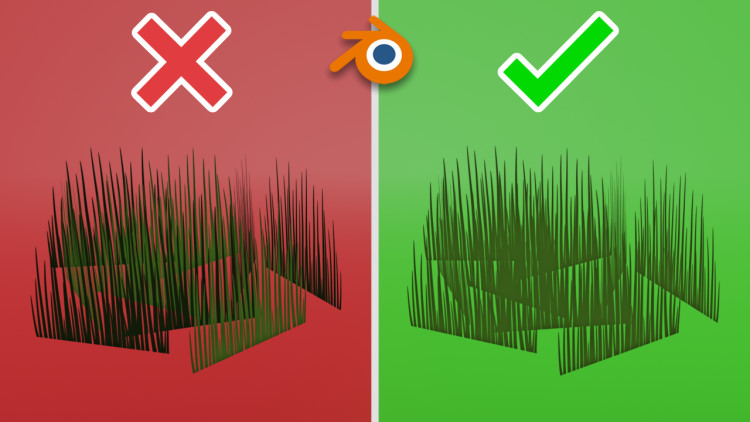
When creating a grass patch object for a game, you may run into a problem where some of the planes of the object are dark in Unity. This is due to their shading. To modify their shading you must rotate the split normals of the planes to face upwards.
Modifying the Split Normals of an Object
Let’s say you have made this patch of grass which you are very proud of.
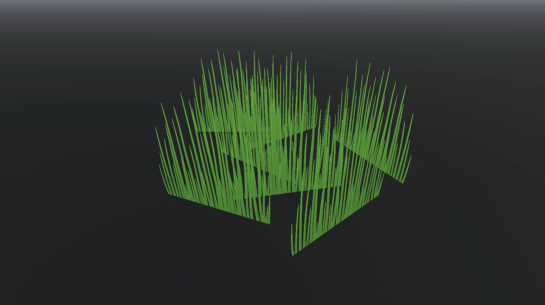
When you take it to Unity, some of its planes are dark, which doesn’t look any good. This is due to their shading.
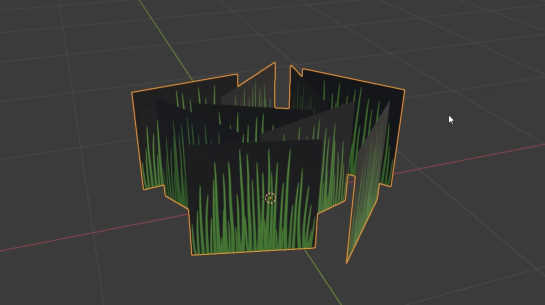
Let’s fix the issue in Blender. Make sure you are in Edit mode. Open the Viewport Overlays menu from the upper right corner of the 3D Viewport window. Activate a setting called Display Split Normals.
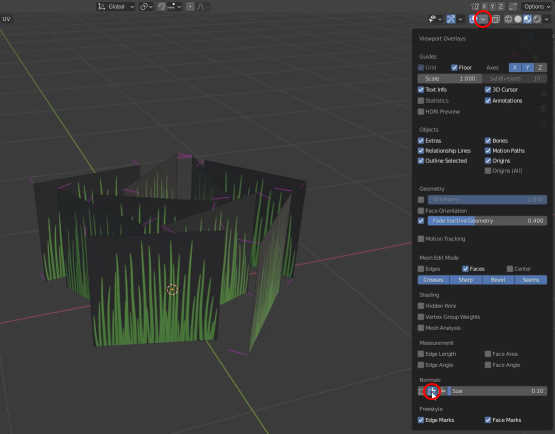
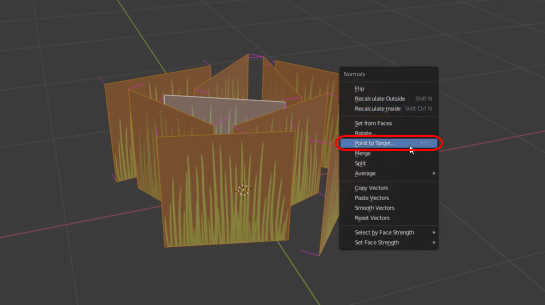
Now you can see in which direction the split normals of the planes are facing. In order for all the grass stalks to be the same color in Unity, you must rotate the split normals to face upwards. Press A to select everything. Press ALT + N and choose Point to Target.
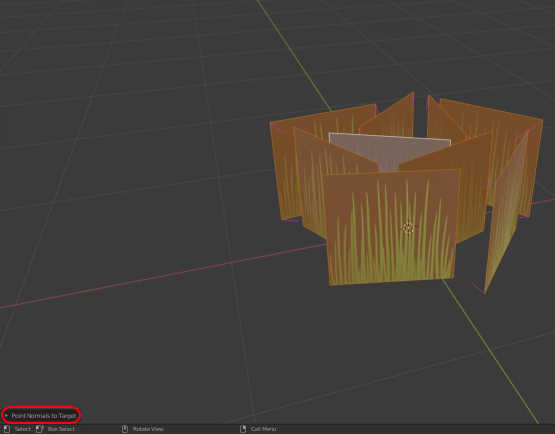
Press the left mouse button right after that. Now you can see that the split normals are looking at the center point of the 3D space. Open the Point Normals to Target menu from the bottom left corner of the 3D Viewport window.
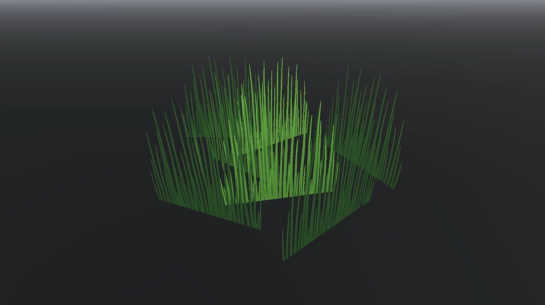
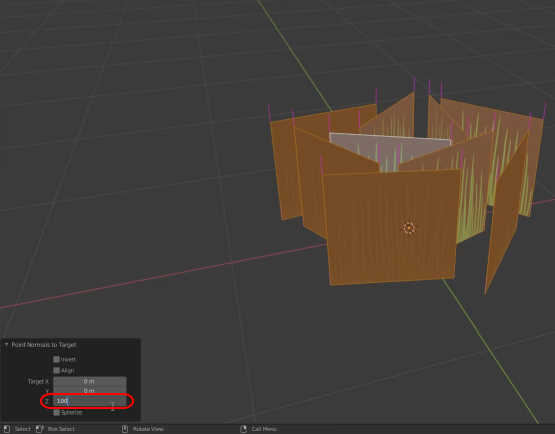
Change the Z-value to 100 so that all the split normals will face upwards.
When you take the patch of grass to Unity, all of its grass stalks are the same color and the object looks great.