5 Things to Do Before Exporting a 3D Model into a Game Engine
Before exporting a game asset, you should fix all potential mistakes so you don't have to make unnecessary adjustments inside the game engine.
Determing the Location of the Pivot Point
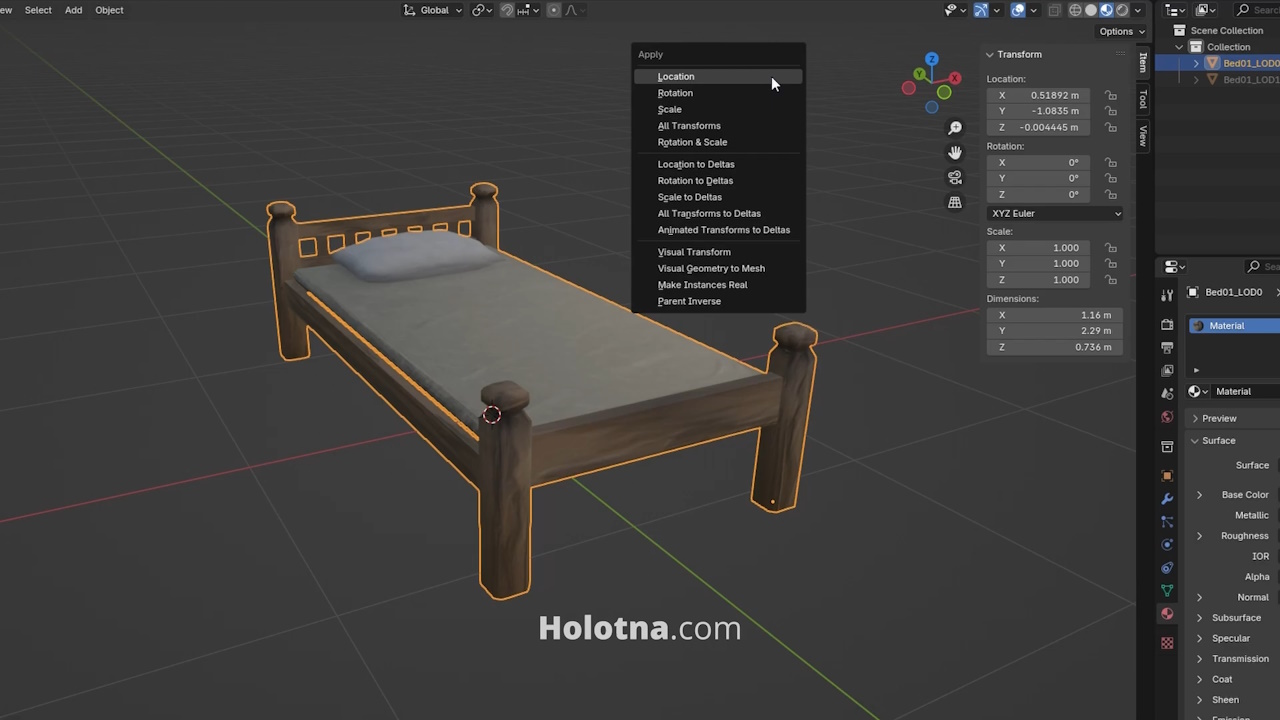
First, you should make sure that the object’s pivot point is in the right location. Most objects should sit on the grid and have their pivot point at the bottom-center.
To reset the location of the pivot point press CTRL + A and choose Location. Now the object can be quickly dropped onto a surface and scaled easily.
There are some exceptions where the pivot point should not be at the bottom-center. If you are dealing with a dynamic game object that can be, for example, picked up in the game, the model and its pivot point should be at the center so that the object rotates as expected.
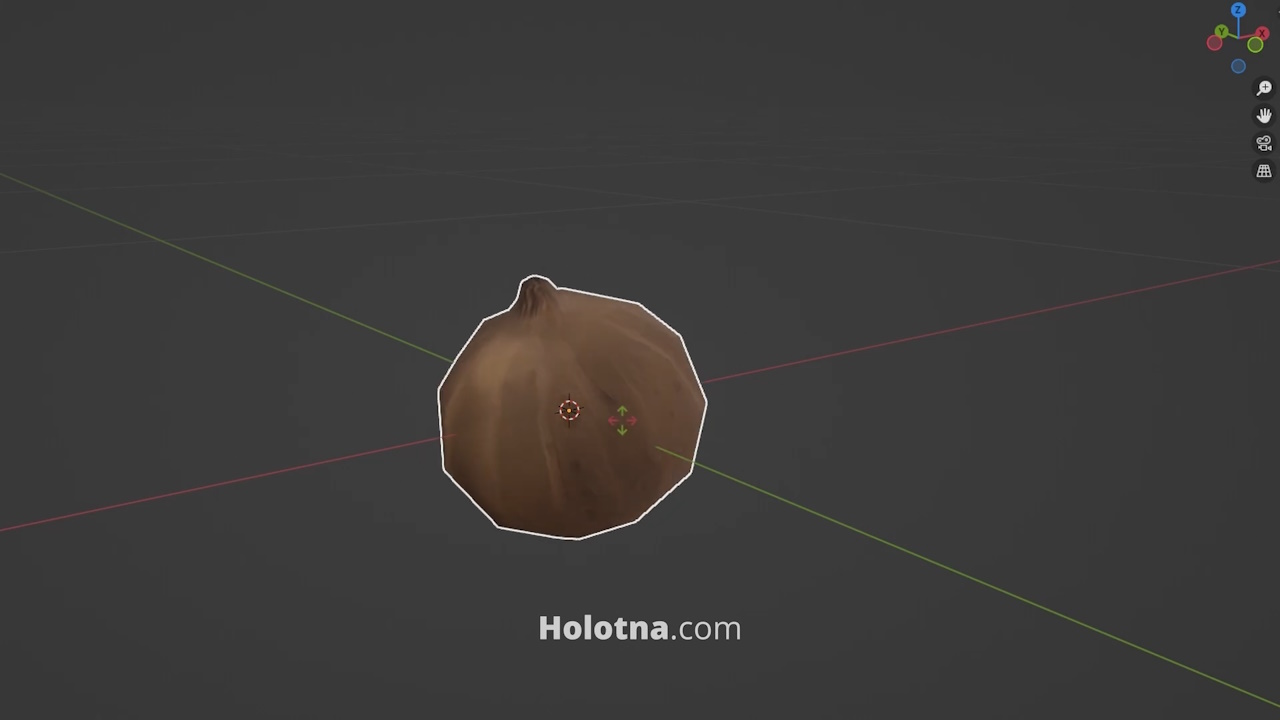
Another exception to the rule is if your model is something like a gate. This gate consists of two objects, the frame and the door. The frame is the parent object and its pivot point is at the bottom-center.
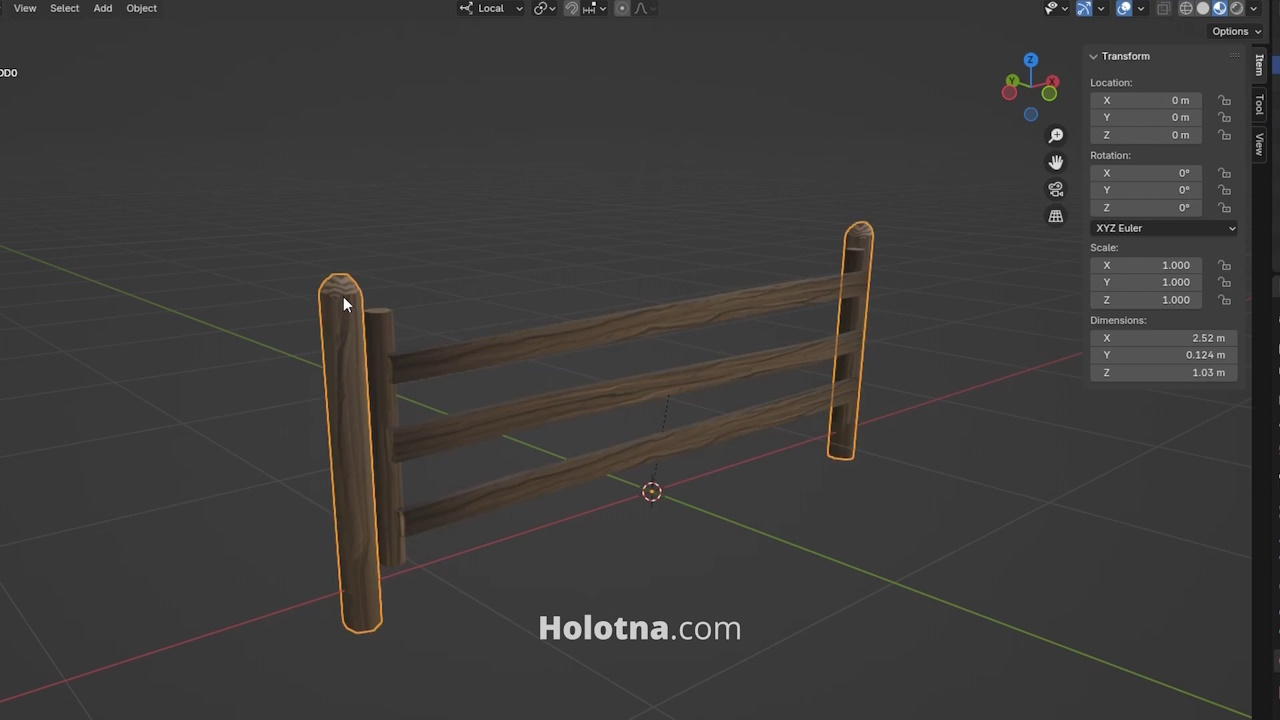
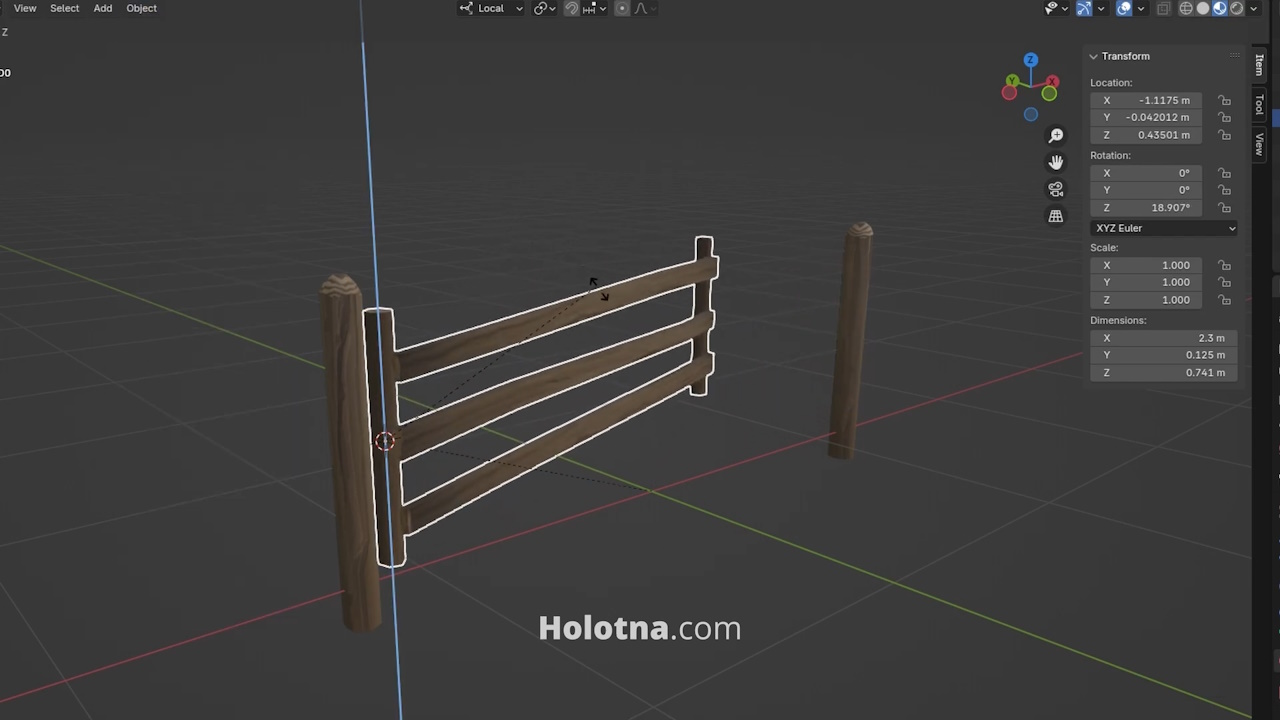
The door’s pivot point should be at its hinges for it to rotate correctly.
To set the pivot point to that location, use the 3D Cursor. Switch to Edit mode with TAB, select the cylinder at the end of the door with L. Press SHIFT + S and choose Cursor to Selected. Switch back to Object mode with TAB and go to Object > Set Origin > Origin to 3D Cursor. Now the door of the gate rotates correctly.
Rotating the Model to Face Forward
If your model is a character, you should make it face the negative direction of the Y axis in Blender.
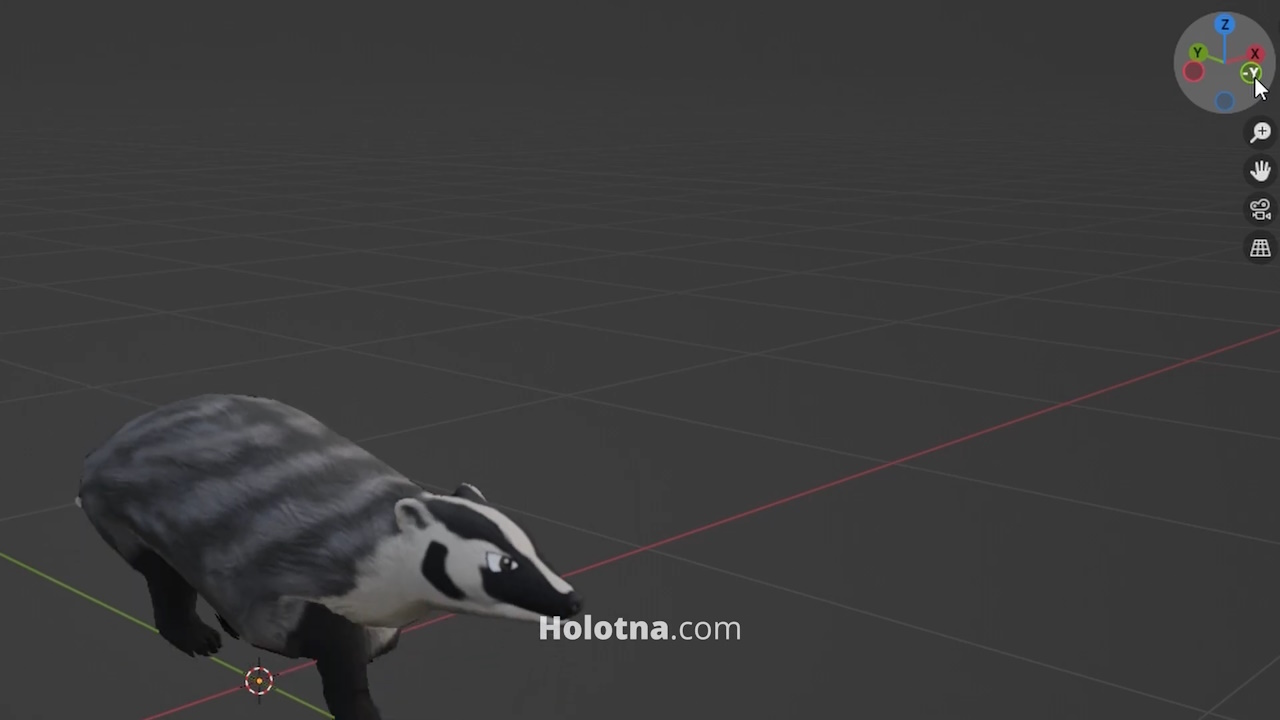
When you export this model to Unity, for example, it will face the positive direction of the Z axis, that is forward. When you code the character to move forwards, it will move forwards without you having to do any adjustments inside the game engine.
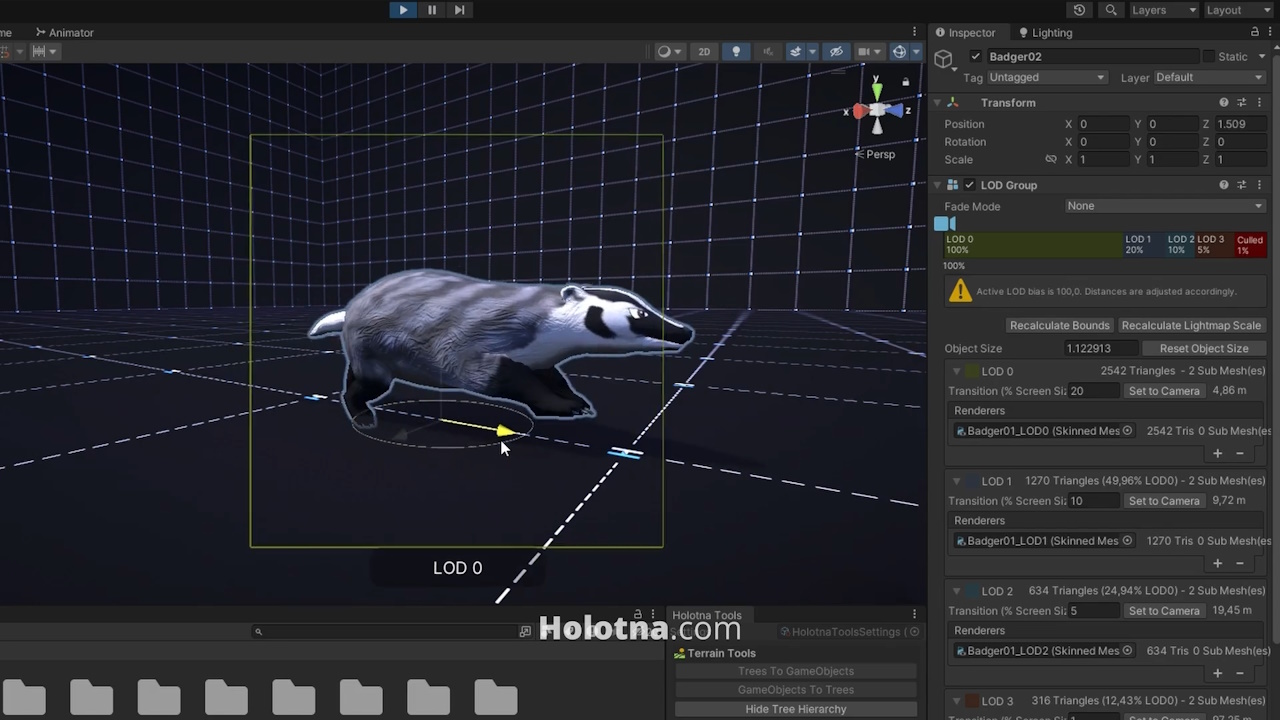
For consistency reasons you may want to make all of your models face the same direction, when it makes sense of course.
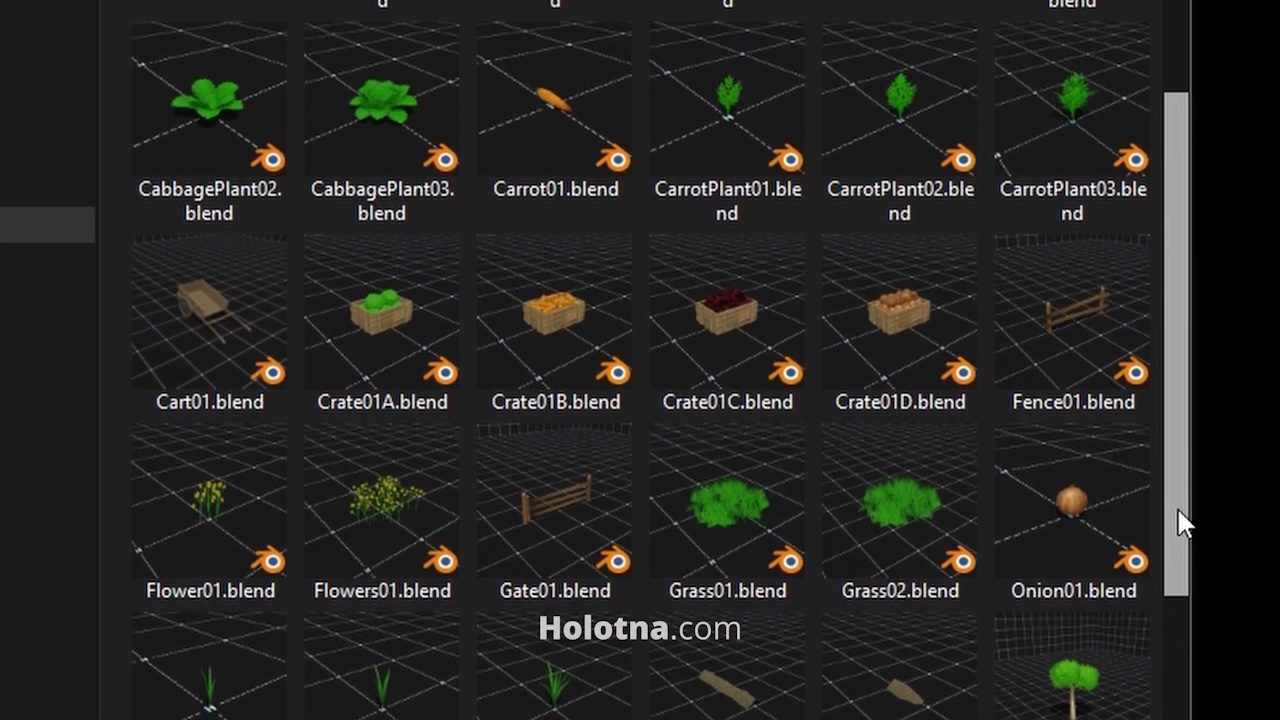
Also every Blender project should have the same camera angle, so you can just jump into any project and you immediately know your position in the 3D space.
Setting a Realistic Size for the Object
Next, you should set a realistic size for the object. To do this, download a free human model and import it to the project.
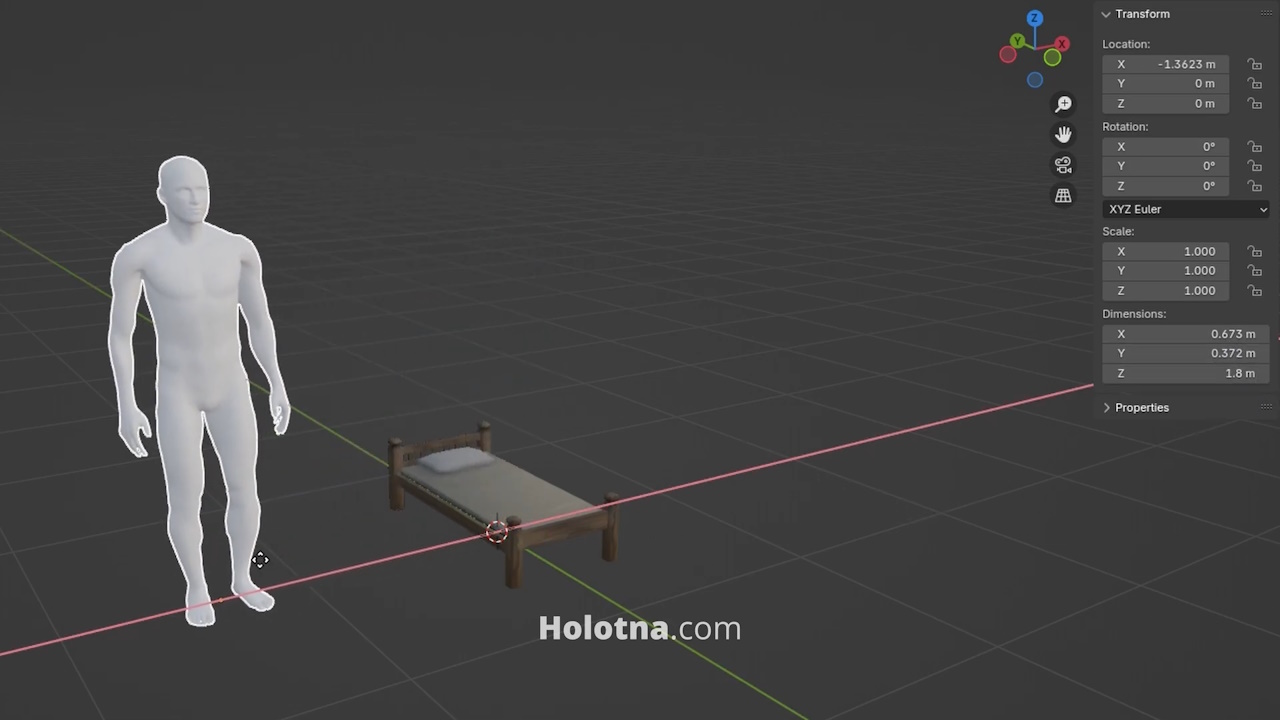
The height of this character is 1.8 meters, as you can see from the Dimensions Z value. Resize your model to fit the size of the human. When you are ready, you can delete the character.
Resetting the Rotation and Scale Values
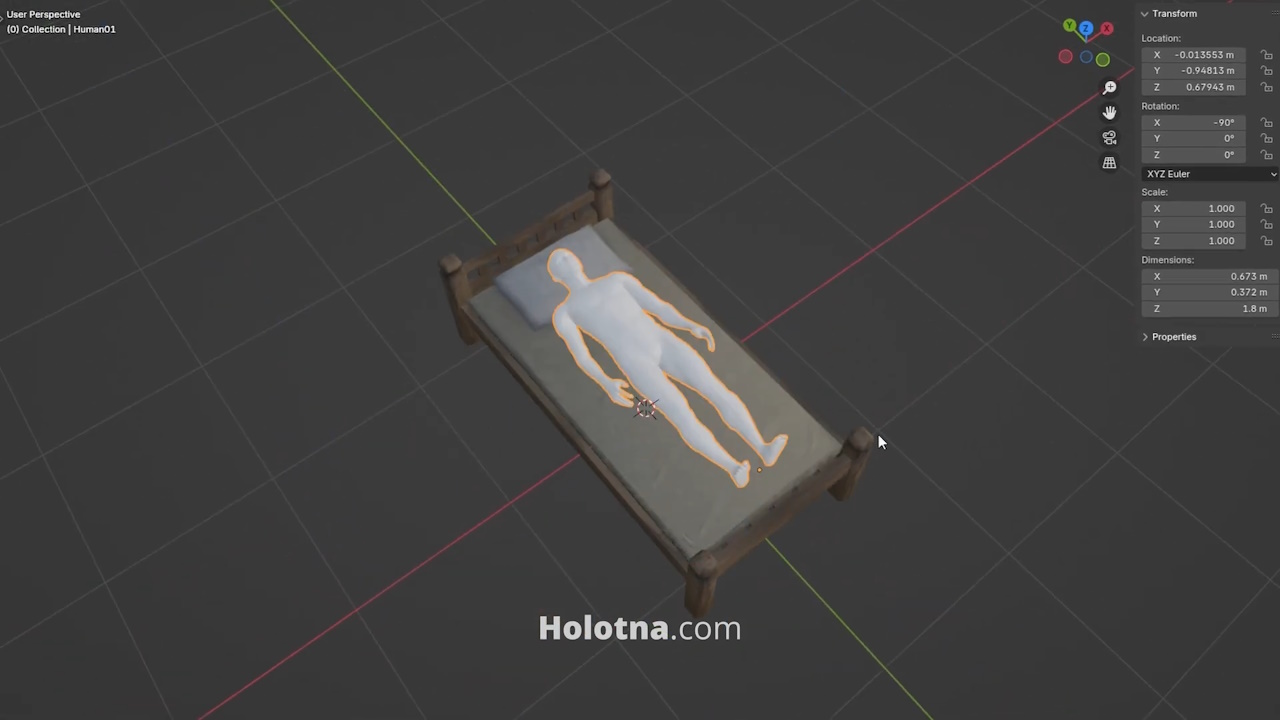
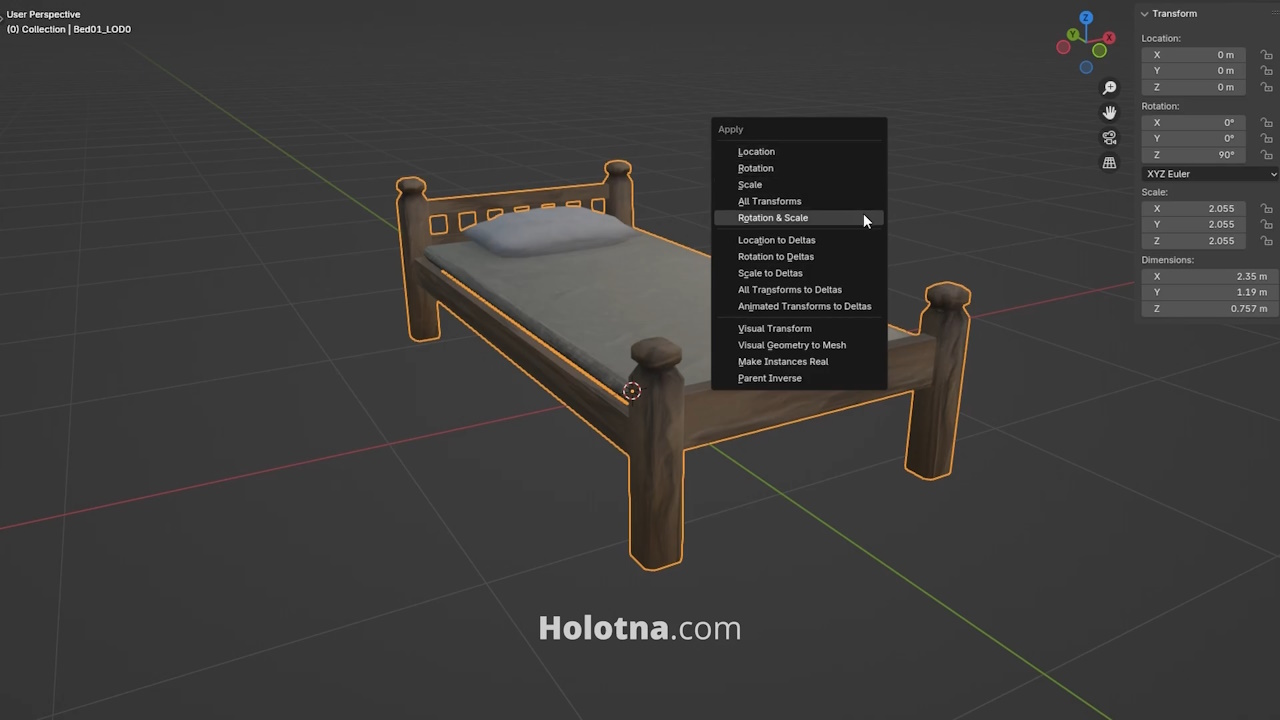
After changing the transform values of the object, you should apply its rotation and scale. To do this, press CTRL + A and choose Rotation and Scale.
Fixing the Face Orientations
Next, you should check that the faces of your model have the correct orientations. Go to Viewport Overlays and enable Face Orientation.
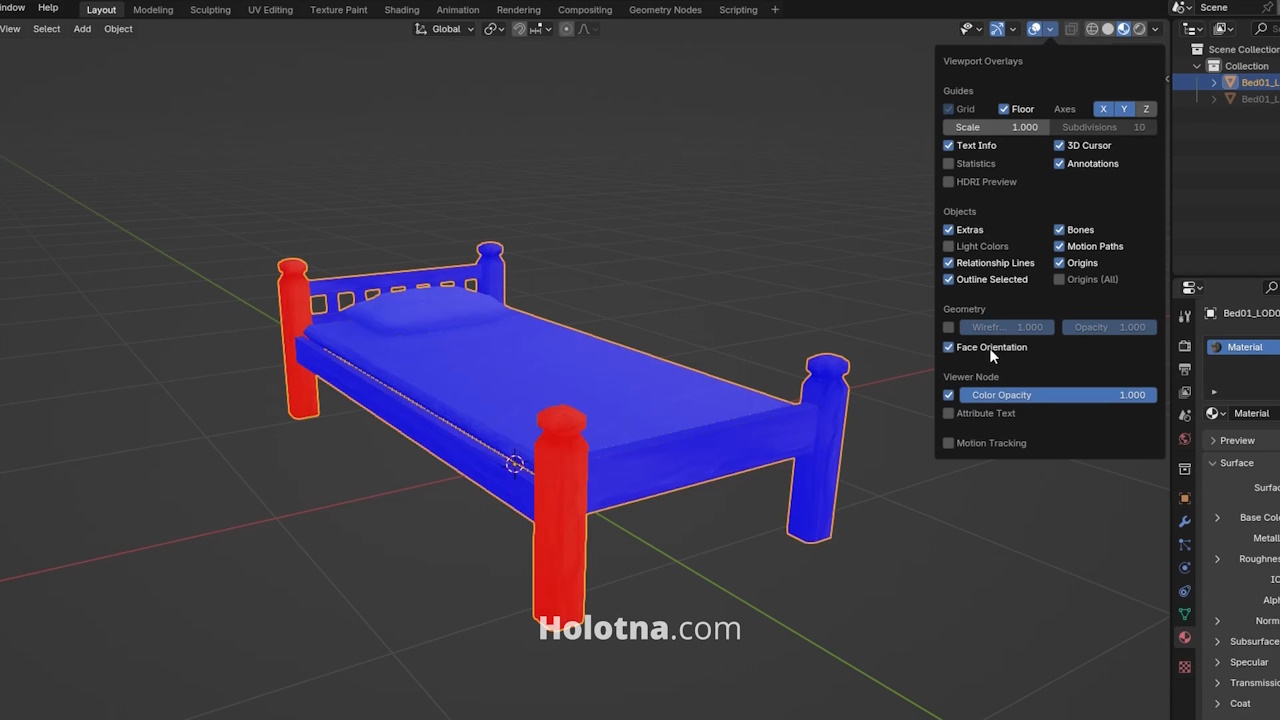
The blue color indicates that a face is facing outwards, which is what we want. The red color means that the face is facing inwards, which means that the face will appear invisible in the game engine because game engines only render one side of the face by default.
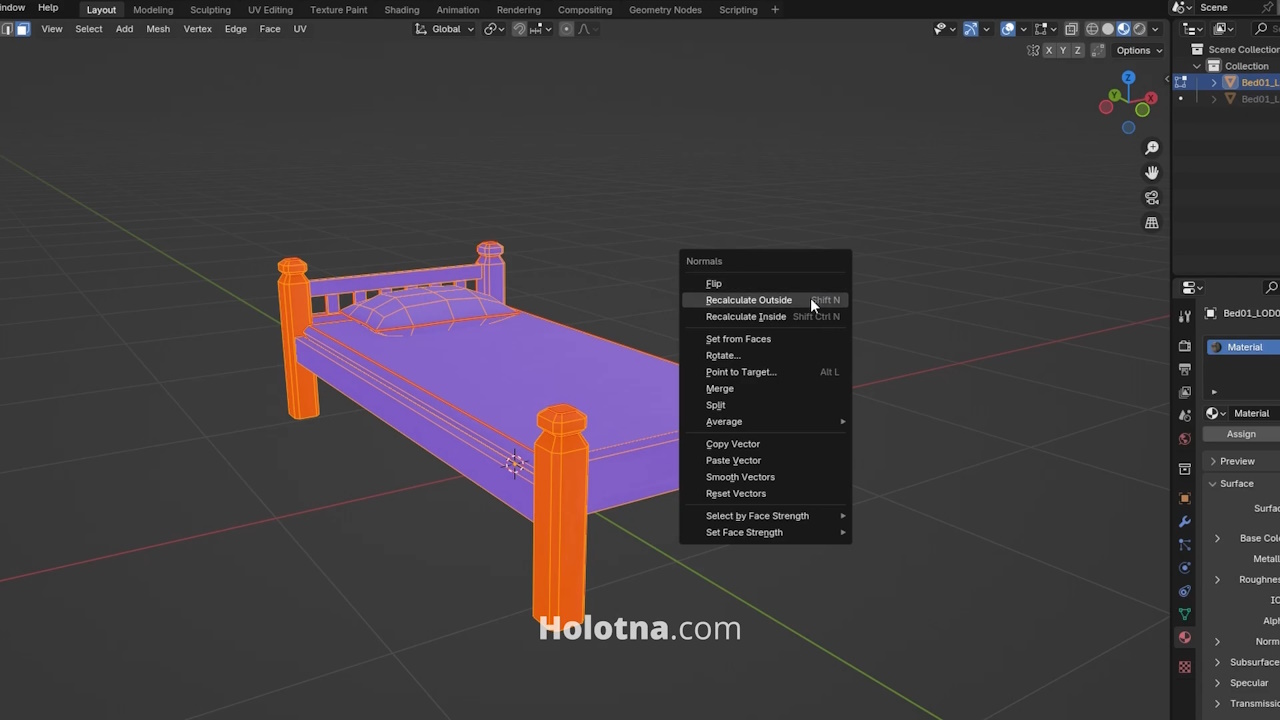
To fix this issue, switch to Edit mode with TAB, select everything with A, press ALT + N and choose Recalculate Outside.
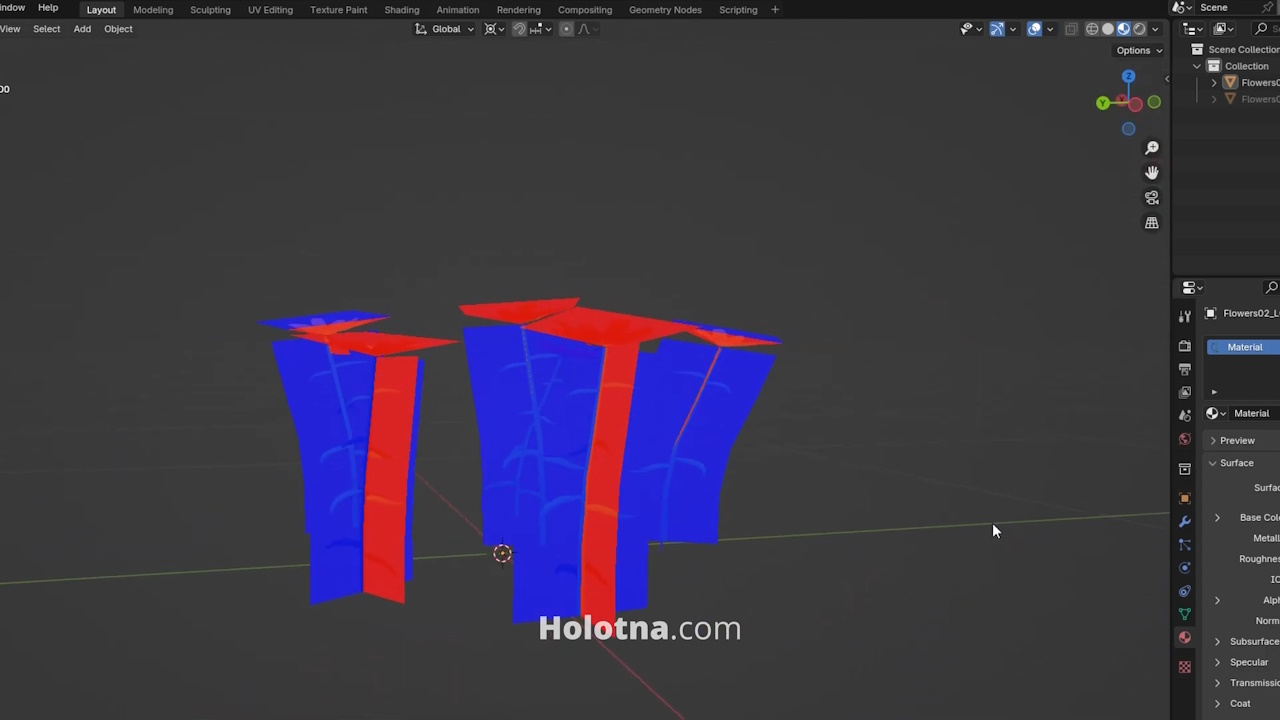
One exception to this rule is foliage. This plant consists of planes that are one-sided, however in the game engine the model uses a shader that makes the game engine render both sides of its faces.
Changing the Export Settings
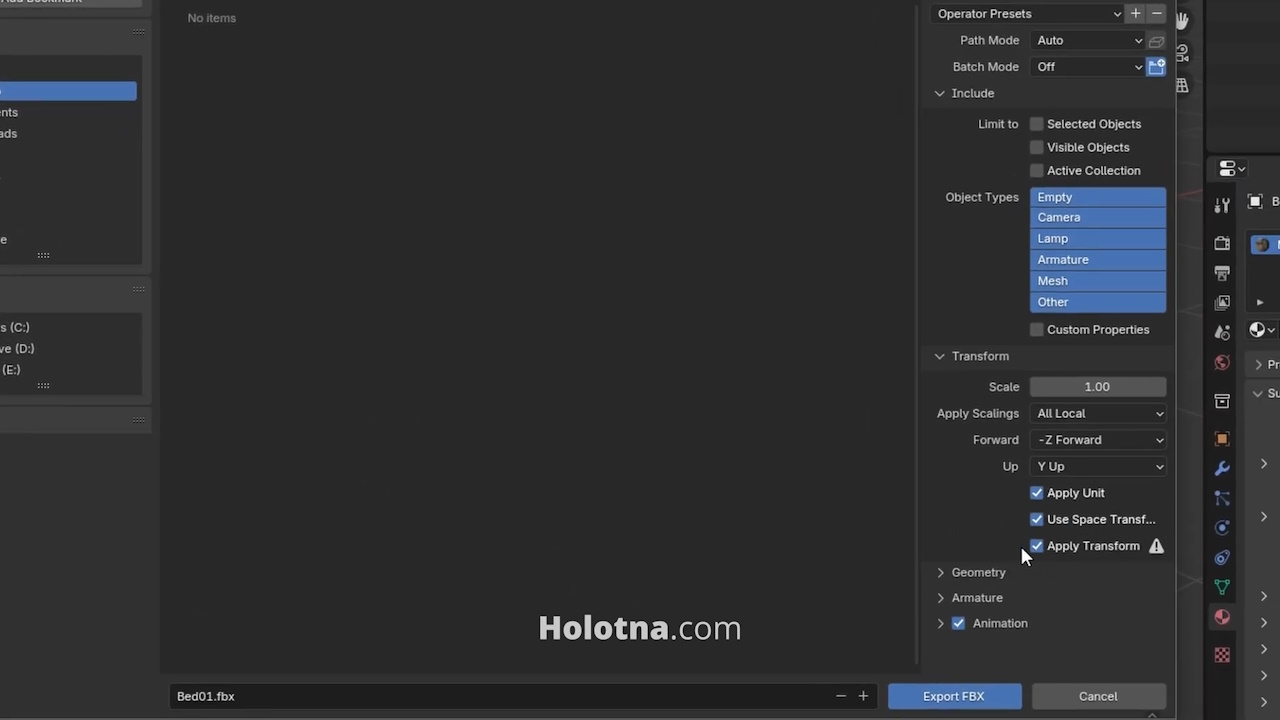
Lastly, let’s talk about export settings. I use the default settings but I always enable the Apply Transform setting because Blender and a game engine like Unity use different axis in the 3D space.
