How to Make a 360-Degree Camera Animation in Blender
 Mika
Mika- Updated Jul 3, 2025
When you want to show off your model from all sides, you should make a 360-degree camera animation. Getting the camera to orbit an object is actually pretty simple.
Making the Camera Orbit the Object
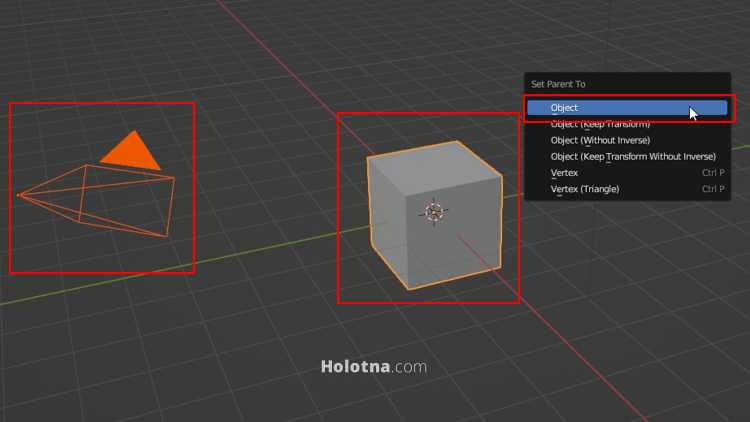
First you need a camera and an object such as a cube. Start by setting the camera as a child object of the cube by first selecting the camera, then hold down SHIFT and select the cube. Press CTRL + P and choose Object (Keep Transform).
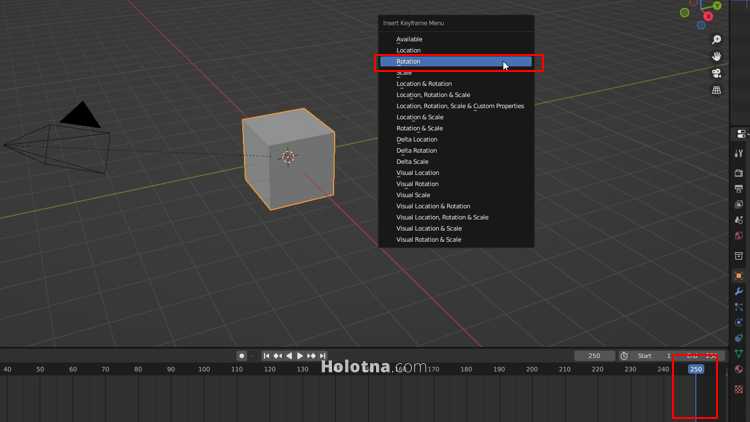
Now let’s make the animation. Make sure you’re at frame 0 on the timeline. Select only the cube, press I and choose Rotation to insert a keyframe to the current frame.
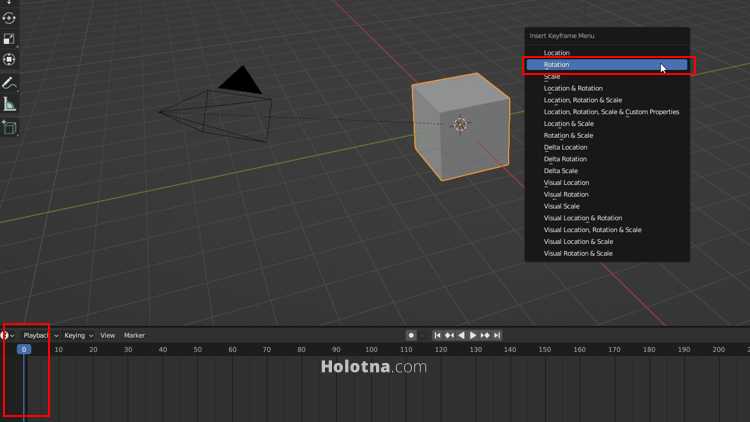
Now go to the last frame on the timeline. Rotate the cube 360 degrees on the Z axis by first pressing R, then Z. Type 360 and lastly press Enter. Insert a keyframe to the current frame by pressing I and choosing Rotation.
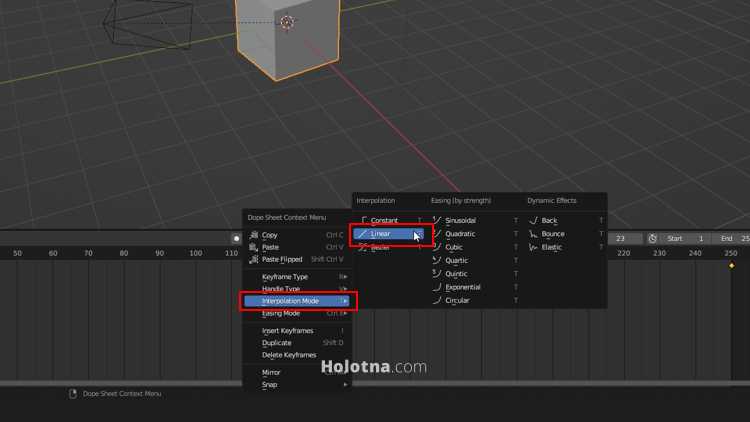
Press the Space bar to play the animation. By default, the animation starts and ends off slowly. If you want to make the movement linear, make sure you have selected all the keyframes on the timeline by hovering your mouse over it and pressing A. Click the right mouse button and under the Interpolation Mode options, choose Linear.
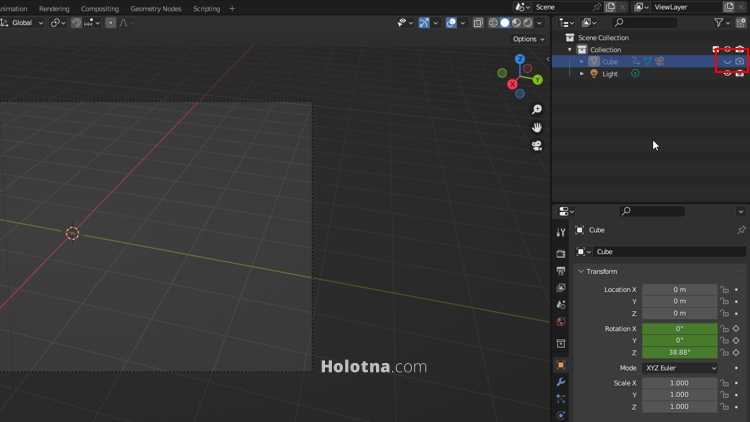
Play the animation with the Space bar. If you want to switch to the camera view, press NUMPAD0. You can also disable the rendering of the cube from the Outliner panel.